Rockstar Pup: How to Teach Your Dog to Play the Drums
Have you ever watched a video of a dog doing something incredible and thought, ‘I wish my dog could do that!’? Well, get ready to be the person posting that video! Teaching your dog to play the drums isn’t just an amazing party trick; it’s a fantastic way to bond with your furry friend, boost their confidence, and provide some much-needed mental stimulation. It might sound complicated, but with a little patience and the right approach, you can unleash your dog’s inner musician. This guide breaks it all down into simple, fun, and positive steps. So, grab some treats, find your rhythm, and let’s get ready to rock!
Gearing Up for Your Jam Session: What You’ll Need
Before you can start the training, you need to assemble your band’s equipment. The key here is safety and simplicity. You don’t need a professional-grade kit; you just need a few items to get the beat going. Think of this as your pup’s very first garage band setup!
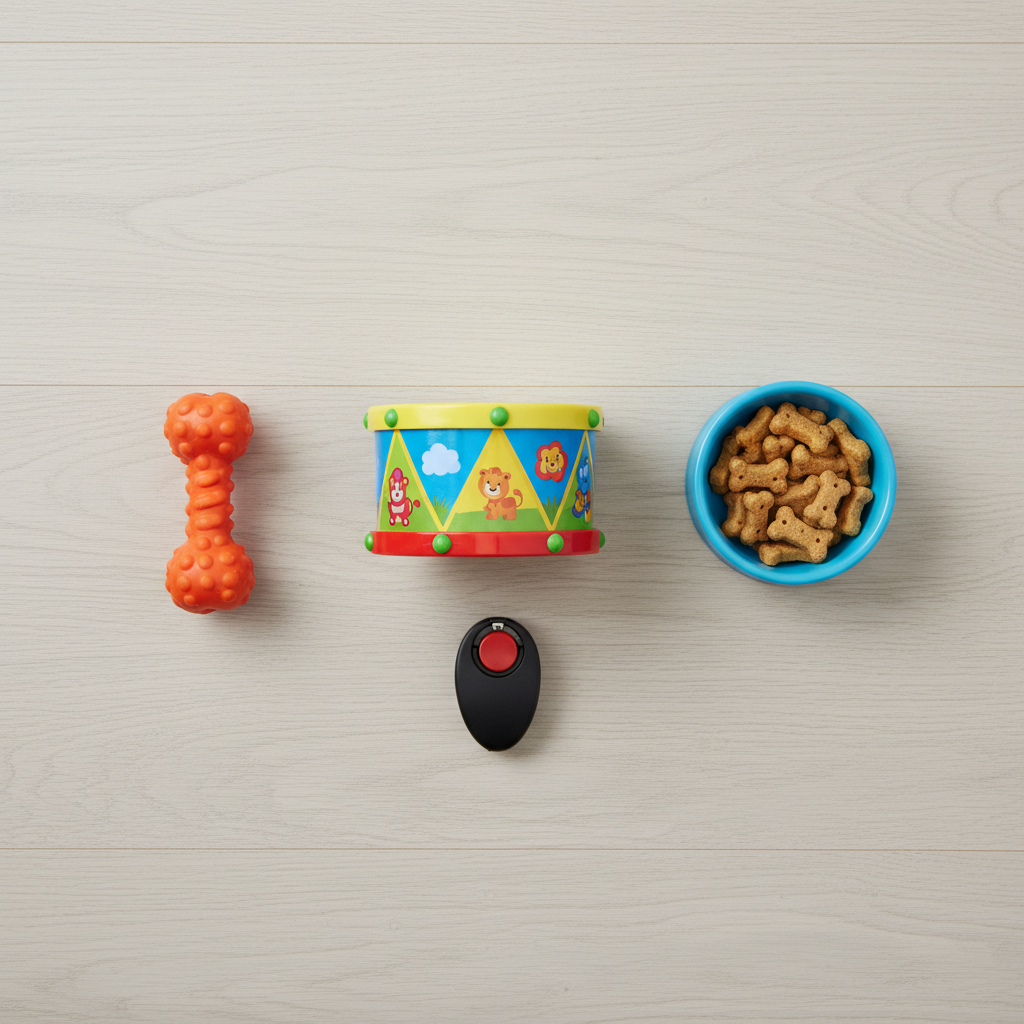
Essential Equipment:
- A Dog-Safe ‘Drum’: This can be anything that makes a noise when tapped. A small, sturdy children’s toy drum is perfect. Alternatively, you can get creative! An overturned plastic storage bin, a sturdy cardboard box, or even a hard plastic food container will work wonderfully. Just make sure it’s stable and won’t scare your dog when they touch it.
- Dog-Safe ‘Drumsticks’: Do not use real drumsticks! They can splinter and are a choking hazard. Instead, find a lightweight wooden dowel and wrap it securely in vet tape or fabric. A sturdy rubber chew toy that’s long and thin can also work perfectly. The goal is an object your dog can comfortably hold in their mouth.
- High-Value Treats: This is your currency! You’ll need small, super tasty treats that your dog absolutely loves. Think tiny pieces of chicken, cheese, or special training treats. They should be quick to eat so you can keep the training session moving.
- A Clicker (Optional but Recommended): A clicker is a fantastic tool for marking the exact moment your dog does the right thing. This precision makes it much easier for your dog to understand what you’re asking for. If you’re not using a clicker, a consistent marker word like “Yes!” works too.
- A Positive Attitude: This is the most important tool in your kit! Training should be fun. Bring your patience, your sense of humor, and plenty of praise.
The Step-by-Step Breakdown to Beatmaking
Alright, the stage is set and the gear is ready. Now for the main event! Remember to keep sessions short and sweet—just 5-10 minutes at a time is perfect. We’ll build this trick piece by piece. This process is called ‘shaping,’ where we reward small steps toward the final goal.
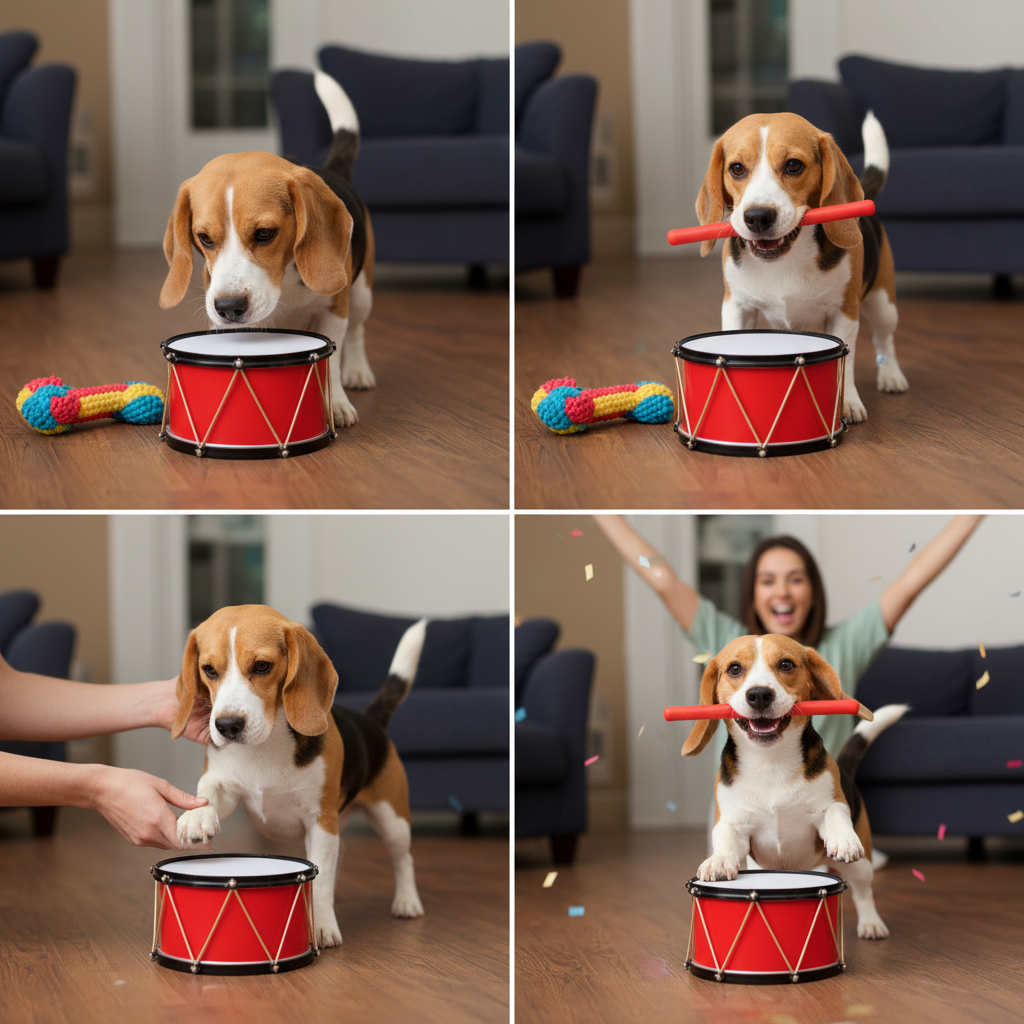
- Step 1: Introduce the Equipment. Place the drum and the drumstick on the floor. Let your dog sniff them. Any time your dog shows positive interest (sniffing, nudging), click (or say “Yes!”) and give them a treat. We want them to think, ‘These new things are awesome!’
- Step 2: Master the ‘Hold’. Now, focus on the drumstick. Encourage your dog to put their mouth on it. At first, reward just a touch. Gradually, ask for more, until they are picking it up and holding it for a second or two. This step can take some time, so be patient! Practice the ‘hold’ command separately until they are comfortable with it.
- Step 3: Target the Drum. Put the drumstick aside for a moment. Now, we want to teach your dog to interact with the drum. Hold a treat near the drum to lure them towards it. Click and treat the moment their nose or paw touches the surface of the drum. Repeat this until they are confidently booping the drum on their own.
- Step 4: Combine the Actions. This is where the magic happens! Ask your dog to hold the drumstick. Once they have it, use your other hand to gesture or point towards the drum. The instant the drumstick (while in their mouth) makes contact with the drum—even by accident—throw a jackpot of treats and praise! This is a huge breakthrough moment. Repeat, repeat, repeat.
- Step 5: Add the Verbal Cue. Once your dog is reliably hitting the drum with the stick, it’s time to name the behavior. Right as they are about to perform the action, say your cue clearly. Choose something fun like, “Play the drums!” or “Rock on!”. With repetition, they’ll associate the words with the action.
Expert Tip: If your dog struggles with combining the actions, break it down even further. Reward them for holding the stick and just turning their head towards the drum. Then for holding the stick and moving one step towards the drum. Every tiny step forward is a win!
Troubleshooting: When Your Pup Misses a Beat
Even the best rockstars have an off day. If you hit a snag in your training, don’t worry! It’s a normal part of the process. Here are some common issues and how to solve them.
- Problem: My dog keeps dropping the drumstick.
Solution: The ‘drumstick’ might be too heavy, wide, or just uncomfortable. Try a different object. You should also go back and strengthen the ‘hold’ command on its own. Practice holding it for longer and longer durations, with lots of rewards, before reintroducing the drum. - Problem: My dog is scared of the drum’s sound.
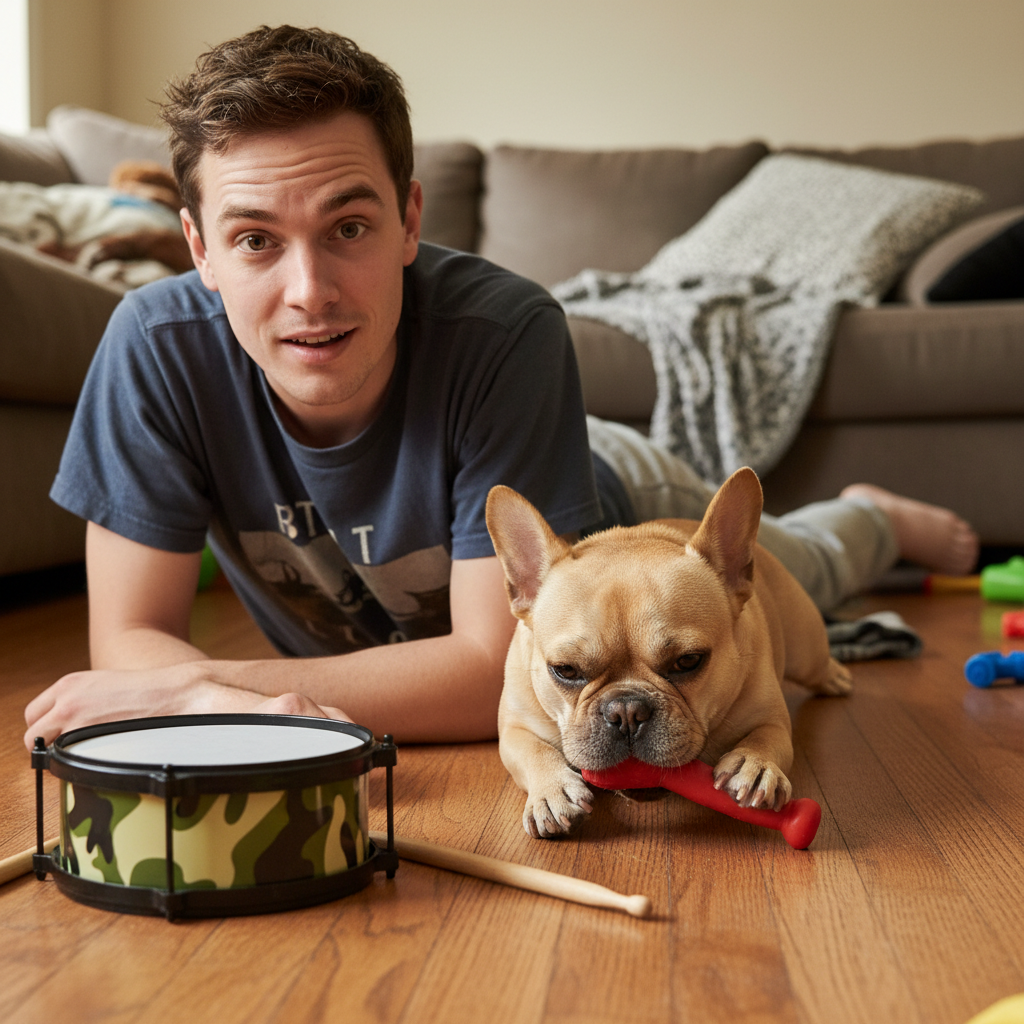
Solution: The noise might be startling. Muffle the drum with a small towel or blanket to soften the sound. You can also switch to a quieter ‘drum,’ like a cardboard box. Reward your dog for just being near the quieted drum, then for touching it, slowly building their confidence back up before trying again. - Problem: My dog just wants to chew the drumstick!
Solution: This is very common! It means the training session may have gone on too long and your dog is looking for another outlet. Keep sessions shorter. Also, make sure the reward for tapping the drum is way more exciting than the reward of chewing. Use your most high-value treats only for successful taps. - Problem: My dog isn’t making the connection between the stick and the drum.
Solution: You may need to provide more guidance. Try holding the drum closer to your dog’s mouth when they are holding the stick, making it easier for them to make contact accidentally. You can also gently tap the drumstick while they hold it to help them understand the desired motion. Remember to reward any effort in the right direction!
Encore! Taking the Trick to the Next Level
Once your dog has mastered a basic beat, why stop there? You can add all sorts of fun variations to turn your dog’s solo performance into a full-blown concert. This is where you can get really creative and show off your pup’s skills.
Advanced Rockstar Moves:
- Introduce Different Rhythms: Can you teach your dog to play a specific beat? Start by rewarding two taps in a row, then three. You can use hand signals to guide them into creating simple patterns.
- Add More Instruments: Expand the band! Introduce other dog-friendly instruments like a floor piano mat (rewarding paw presses) or a set of bells they can ring with their nose. You could teach them to play the drum, then run to the piano!
- Play from a Distance: Gradually increase the distance between you and your dog. Can they ‘play the drums’ when you give the cue from across the room? This demonstrates a true understanding of the command.
- Incorporate it into a Routine: String multiple tricks together. Ask your dog to ‘spin,’ then ‘roll over,’ and finish with a drum solo! This is a fantastic way to keep their mind engaged and show off their repertoire.
The most important thing is to keep it fun and positive. This trick is all about the joy of working and playing together. So turn on some music, get into the groove, and let your rockstar pup shine!
Conclusion
Congratulations, you’ve got all the notes you need to teach your dog an incredible new skill! Remember that every dog learns at a different pace. The key to success is patience, positivity, and celebrating the small victories along the way. Teaching your dog to play the drums is more than just a trick; it’s a conversation, a game, and a powerful bonding experience. So enjoy the process, laugh at the mistakes, and get ready to give your talented pup a standing ovation. Now go start that band!