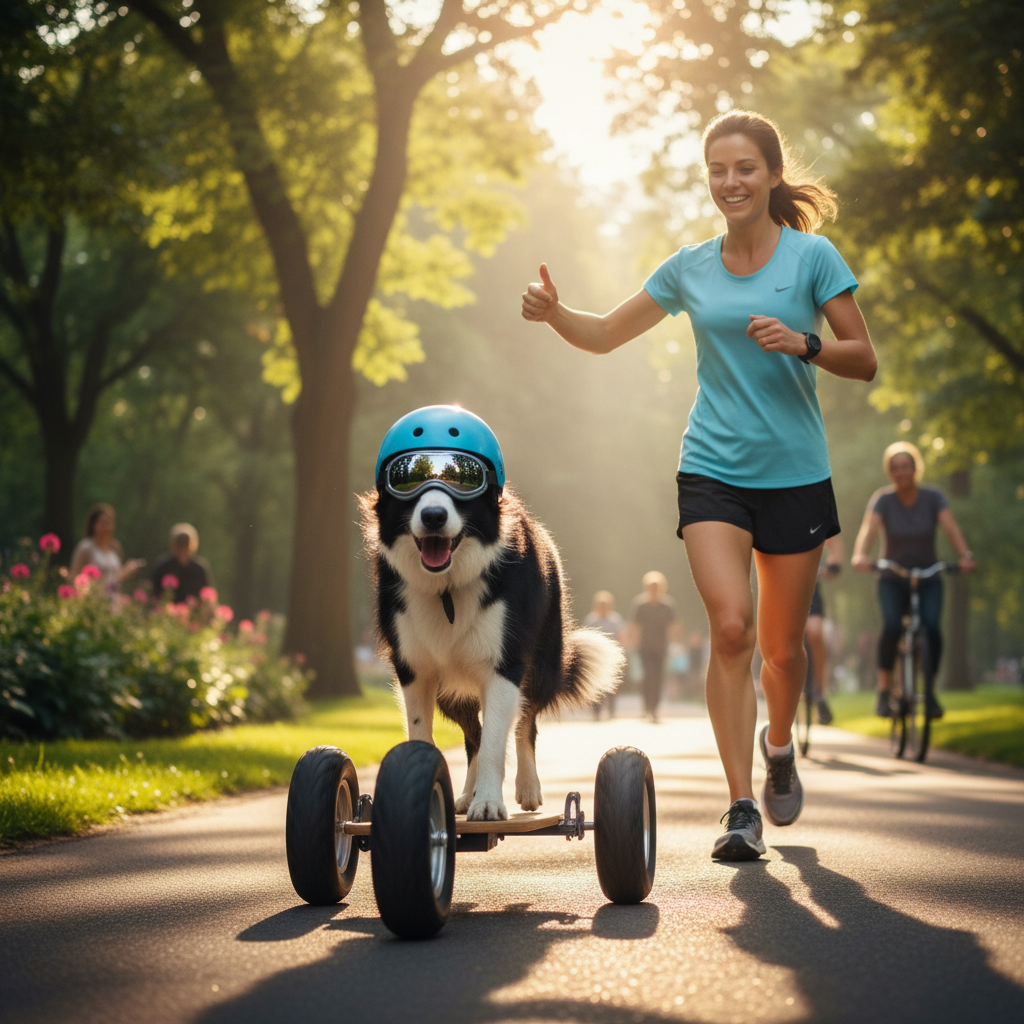
Better Than Skateboarding: How To Teach Your Dog To Ride A Scooter
You’ve seen dogs on skateboards, and sure, that’s impressive. But are you ready to take your trick-training game to a whole new level? Welcome to the wonderful, whimsical world of teaching your dog to ride a scooter! It might sound like something out of a cartoon, but with patience, positive reinforcement, and a good sense of humor, you can teach your clever canine this incredible trick.
More than just a show-stopping move for the dog park, teaching your dog to scooter is a fantastic form of mental stimulation and physical exercise. It builds confidence, improves balance, and strengthens the bond between you and your pup like nothing else. This guide will break down the process into simple, manageable steps, ensuring a safe and fun experience for everyone. So, let’s get ready to roll!
Gearing Up: The Right Scooter and Safety Equipment
Before you start dreaming of viral videos, you need to gather the right gear. Setting your dog up for success begins with having the proper equipment. Safety and stability are your top priorities here!
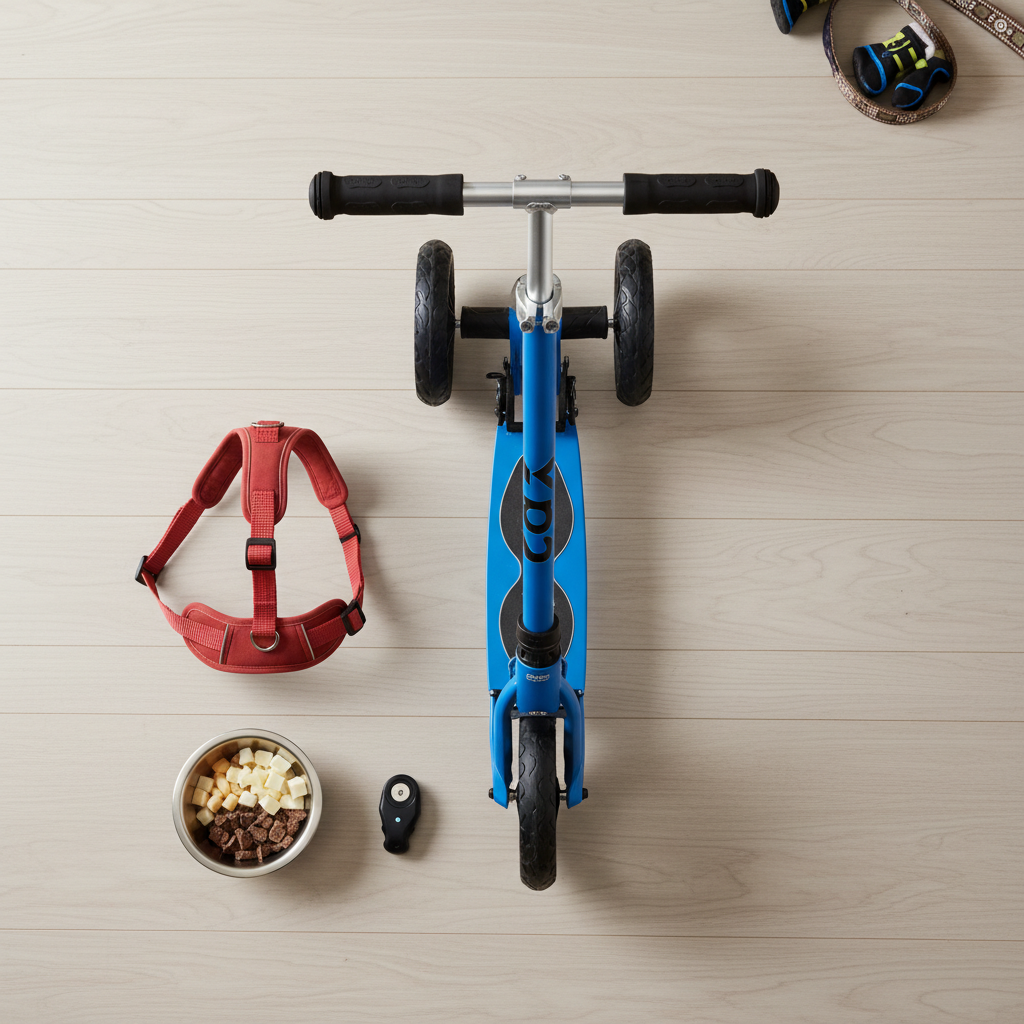
What You’ll Need:
- A Dog-Friendly Scooter: Don’t grab just any scooter. You need something low to the ground with a wide, stable deck. A three-wheeled children’s scooter is often the perfect starting point. It provides balance and is less intimidating than a two-wheeled model. Make sure it’s sturdy enough to support your dog’s weight.
- A Well-Fitting Harness: Never, ever attach a leash to your dog’s collar for this activity. A comfortable, well-fitted harness (like a Y-shaped harness) will give you better control without putting any pressure on your dog’s neck. You’ll use it to help guide and stabilize them in the beginning.
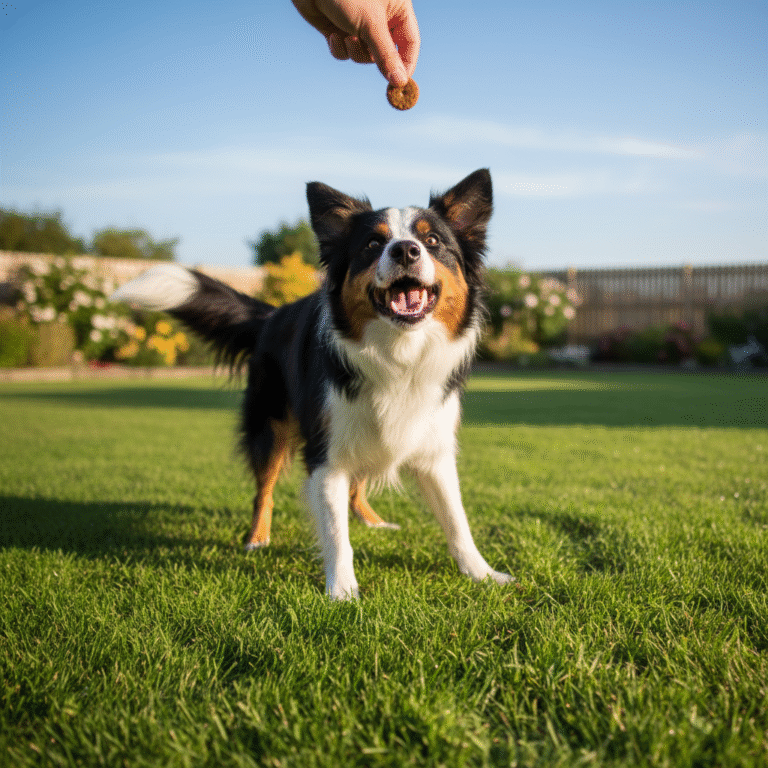
- High-Value Treats: We’re talking about the good stuff! Small, tasty morsels that your dog absolutely loves will be your primary tool for motivation. Think tiny pieces of chicken, cheese, or their favorite super-tasty training treats.
- A Clicker (Optional): If your dog is already clicker-trained, a clicker is an excellent tool for precisely marking the exact moment they do something right. If not, a consistent verbal marker like a happy “Yes!” works just as well.
- A Safe Training Space: Start indoors on a carpeted surface to prevent the scooter from rolling away too quickly. As you progress, move to a smooth, flat, and enclosed outdoor area like a patio or an empty tennis court. Avoid busy sidewalks, gravel, and uneven ground.
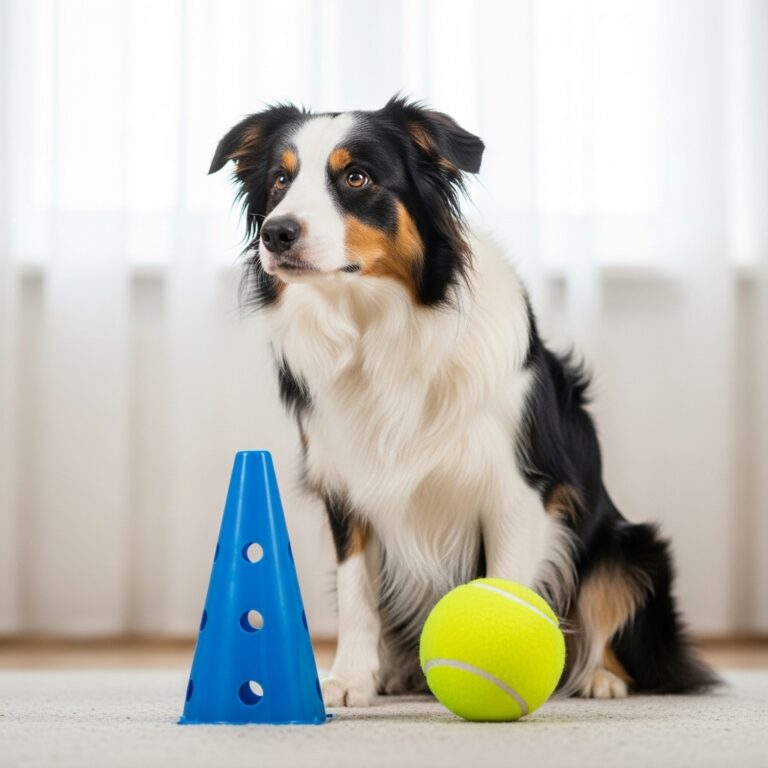
Expert Tip: Let your dog investigate all the new gear before you start training. Leave the scooter in the living room for a few days. Let them sniff it and reward any calm, curious interaction. The goal is for the scooter to become a normal, non-scary part of the environment.
From Paws to Platform: Your Step-by-Step Training Guide
This is where the magic happens! Remember to keep your training sessions short (5-10 minutes max) and always end on a positive note. Patience is your best friend. Every dog learns at a different pace, so celebrate the small victories along the way.
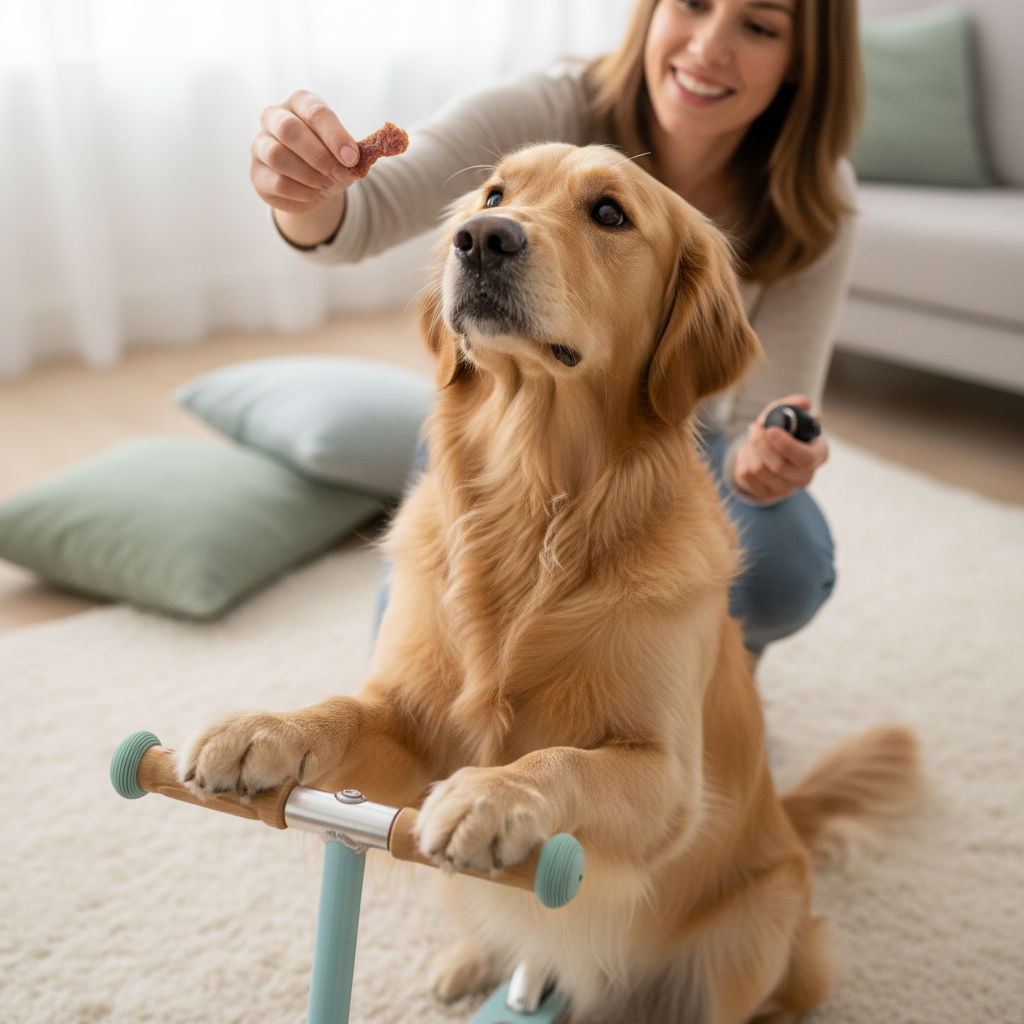
- Step 1: Get Comfortable with the Scooter: The first step is simple association. With the scooter completely stationary (you can even brace it with your feet), reward your dog for any interaction with it. Click/treat for a sniff. Click/treat for looking at it. You want them to think, “This scooter thing makes amazing treats appear!”
- Step 2: Paws Up!: Now, we encourage physical interaction. Start by luring your dog to place one paw on the scooter deck. The moment a paw touches it, click/treat. Repeat this until they are confidently offering a paw. Then, raise the criteria and wait for them to offer two front paws on the deck. This may take several sessions!
- Step 3: Building Duration: Once your dog is comfortable putting their front paws on the deck, work on building duration. Ask them to hold the position for one second, then two, then five. Keep it fun and rewarding. You want them to feel secure and stable with their paws on the platform.
- Step 4: Introducing the “Push”: This is often the most challenging step. The goal is to have them use a back paw to propel the scooter. There are a few ways to approach this. You can try luring their head to one side, causing them to shift their weight and inadvertently move a back paw. The instant that back paw touches the ground to rebalance, click and give a jackpot of treats! You are rewarding the beginning of a “push” motion. Repeat this, shaping the behavior until they understand that a back-paw movement is what earns the reward.
- Step 5: The First Tiny Roll: Once your dog is comfortable on the scooter and you’ve started shaping the push, it’s time for the first taste of movement. On your perfectly flat, safe surface, hold the handlebars and let the scooter move forward just an inch as they get on or push. Lavish them with praise and treats. The key is to make movement feel like a fun part of the game, not something scary.
- Step 6: Putting It All Together: Gradually increase the distance of the rolls. Encourage more pushes. Slowly fade out your physical support of the handlebars, but always stay close enough to grab it if needed. Eventually, you can introduce verbal cues like “Scooter!” for getting on and “Push!” for moving.
Safety First! Rules of the (Scooter) Road
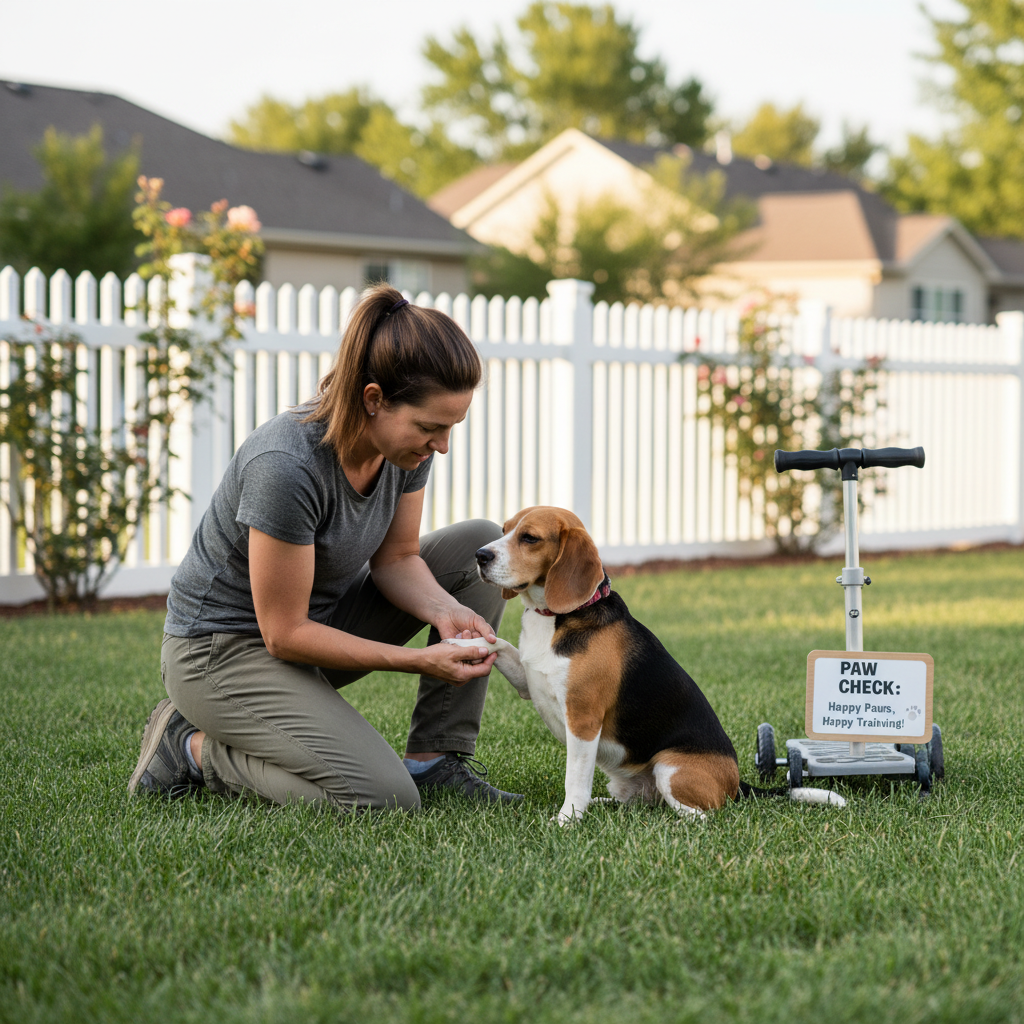
Your dog’s safety is non-negotiable. This is a fun trick, not an extreme sport. Following these rules will ensure it stays a positive experience for both of you.
- Always Supervise: This is rule number one. Never let your dog use the scooter without your direct, focused supervision.
- Pick Your Pavement Wisely: Stick to smooth, level surfaces. Avoid hills (especially downhill runs), cracks, gravel, and busy areas with cars, bikes, or lots of people. An empty basketball or tennis court is ideal.
- Know When to Quit: Keep training sessions short and positive. If your dog shows any signs of stress, fear, or frustration (like excessive panting, yawning, tail tucking, or avoiding the scooter), end the session with an easy win (like a simple sit) and try again another day.
- Consider Your Dog’s Health: This activity is best for healthy, active dogs with good coordination. It may not be suitable for very small breeds, senior dogs, dogs with joint problems (like hip dysplasia or arthritis), or brachycephalic (flat-faced) breeds who can have trouble breathing during exertion. When in doubt, consult your veterinarian.
- Teach an “Off” Cue: Just as important as teaching them to get on is teaching them to get off safely. Use a cue like “Off” or “Break” and lure them off the scooter for a reward, so they know how to dismount on command.
Troubleshooting: When Your Pup Hits a Pothole
Even with the best plan, you might run into a few bumps. Don’t worry! Here’s how to navigate common training challenges.
- My dog is scared of the scooter.
Solution: Go back to square one. Don’t ask for any interaction. Simply place the scooter in the room and randomly toss high-value treats on and around it throughout the day for your dog to find. This process, called counter-conditioning, changes their association from “scary object” to “magic treat dispenser.” - My dog won’t put both paws on the deck.
Solution: You’re likely asking for too much, too soon. Break it down even further. Reward for one paw. Then, hold the treat slightly further back over the deck to encourage them to lean in and place the second paw down to get it. Be patient and reward every tiny bit of progress. - The “push” motion just isn’t clicking.
Solution: This is the toughest part for most dogs. Try a different approach. You can use a target stick or even your hand as a target for their back paw. Reward them for just touching the target with their back paw while their front paws are on the scooter. This helps isolate the leg movement. Remember to heavily reward any backward motion of a rear paw. - My dog jumps off the second the scooter moves.
Solution: The movement is too surprising. You need to desensitize them to it. With them standing on the scooter, move it back and forth by a mere millimeter. Click/treat. Slowly increase the range of motion until a small roll is no longer scary. You control the movement completely until they are confident.
Conclusion
Teaching your dog to ride a scooter is a journey, not a race. It’s a testament to your dog’s intelligence and your incredible partnership. By focusing on positive reinforcement, prioritizing safety, and celebrating every small success, you’re doing more than just teaching a trick—you’re building communication, trust, and a treasure trove of amazing memories.
So, be patient, stay positive, and get ready to be the talk of the town. Your four-legged friend is about to become a scootering superstar! Now go have some fun and happy rolling!