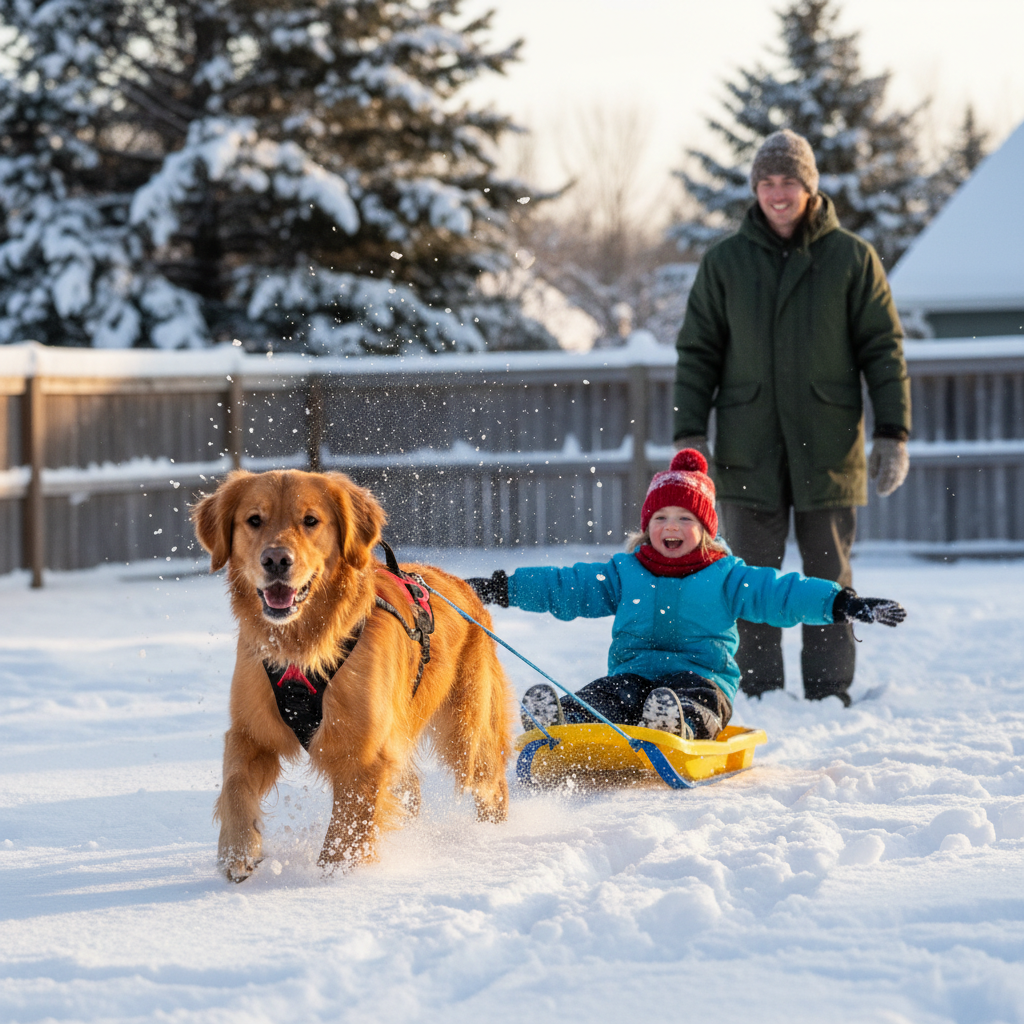
Snow Day Fun: How To Teach Your Dog To Pull A Sled Safely
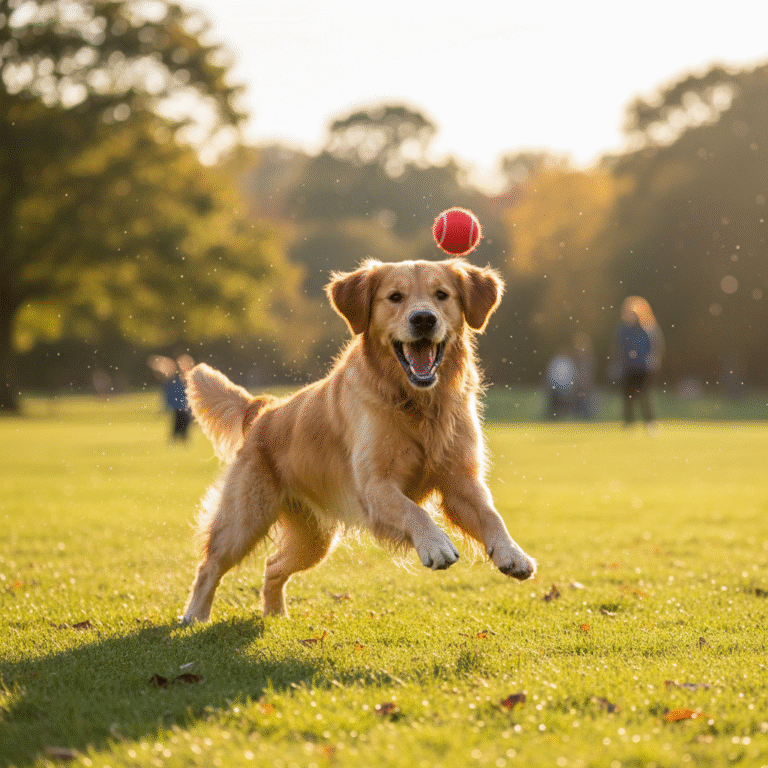
When the world is blanketed in a fresh layer of snow, our first thought is often how to enjoy it. And what could be more fun than sharing that winter wonderland with your furry best friend? If you have an energetic dog who loves the cold, teaching them to pull a sled can be an incredibly rewarding and fun activity for the whole family. It’s a fantastic way to burn off your dog’s excess energy and build a stronger bond.
But before you hitch your pup to the nearest toboggan, it’s crucial to approach this as a fun training exercise, not a heavy-duty job. We’re talking about light, recreational pulling in the backyard, not the Iditarod! This guide will walk you through everything you need to know, from the right gear to the step-by-step training process, all while keeping your dog’s safety and happiness the top priority. Let’s get started!
Gearing Up for Success: The Essential Equipment
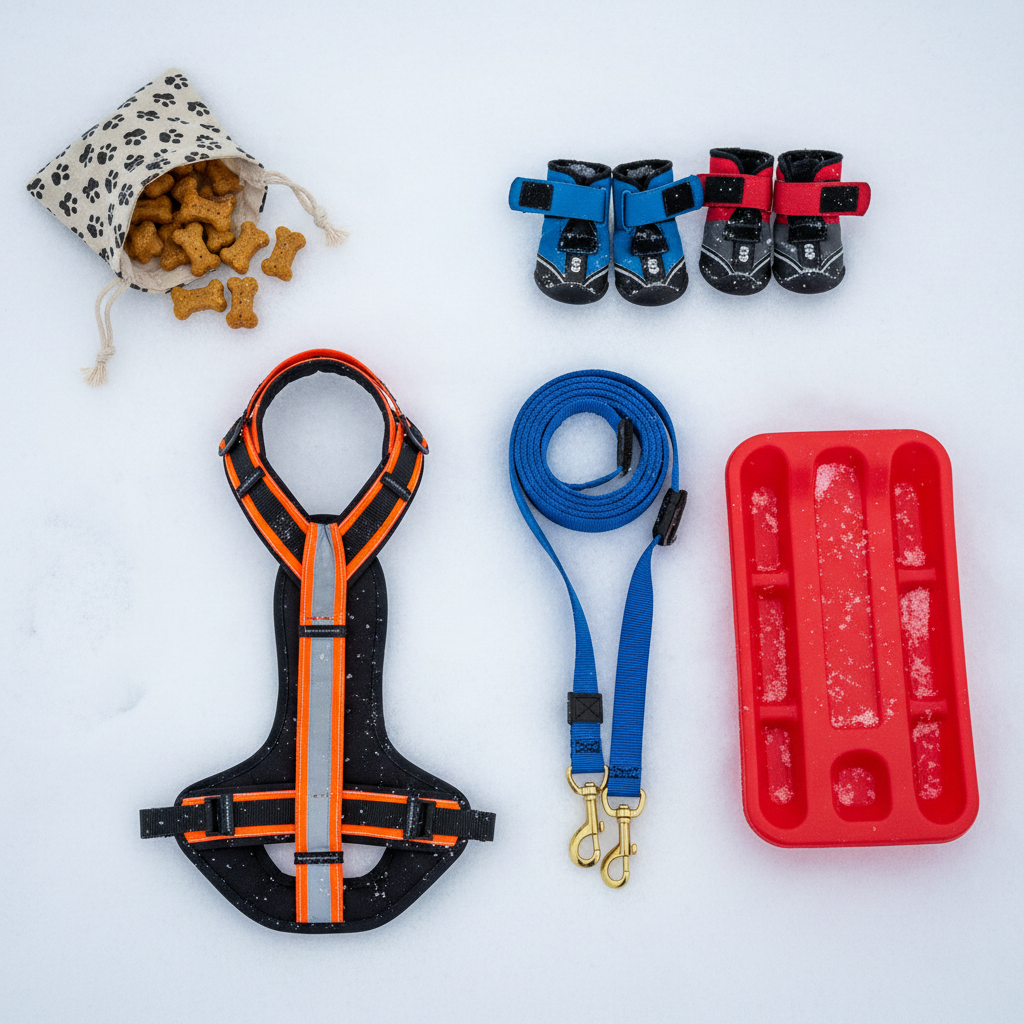
Putting your dog in the right gear is the single most important step for safety and comfort. Using the wrong equipment, like a standard walking harness or collar, can cause serious injury. Here’s what you’ll need to get started on the right paw:
- A Proper Pulling Harness: This is non-negotiable. Unlike a walking harness, which has a leash clip on the back, a pulling or ‘mushing’ harness (like an X-back or H-back style) is specifically designed to distribute weight across your dog’s chest and shoulders, allowing for a full range of motion without restricting their airway. It should fit snugly but not be tight.
- A Bungee Line (or Tug Line): Don’t just use a standard leash! A bungee line has a shock-absorbing section that protects both your dog’s back and the person on the sled from jarring starts and stops. It makes the whole experience smoother and safer.
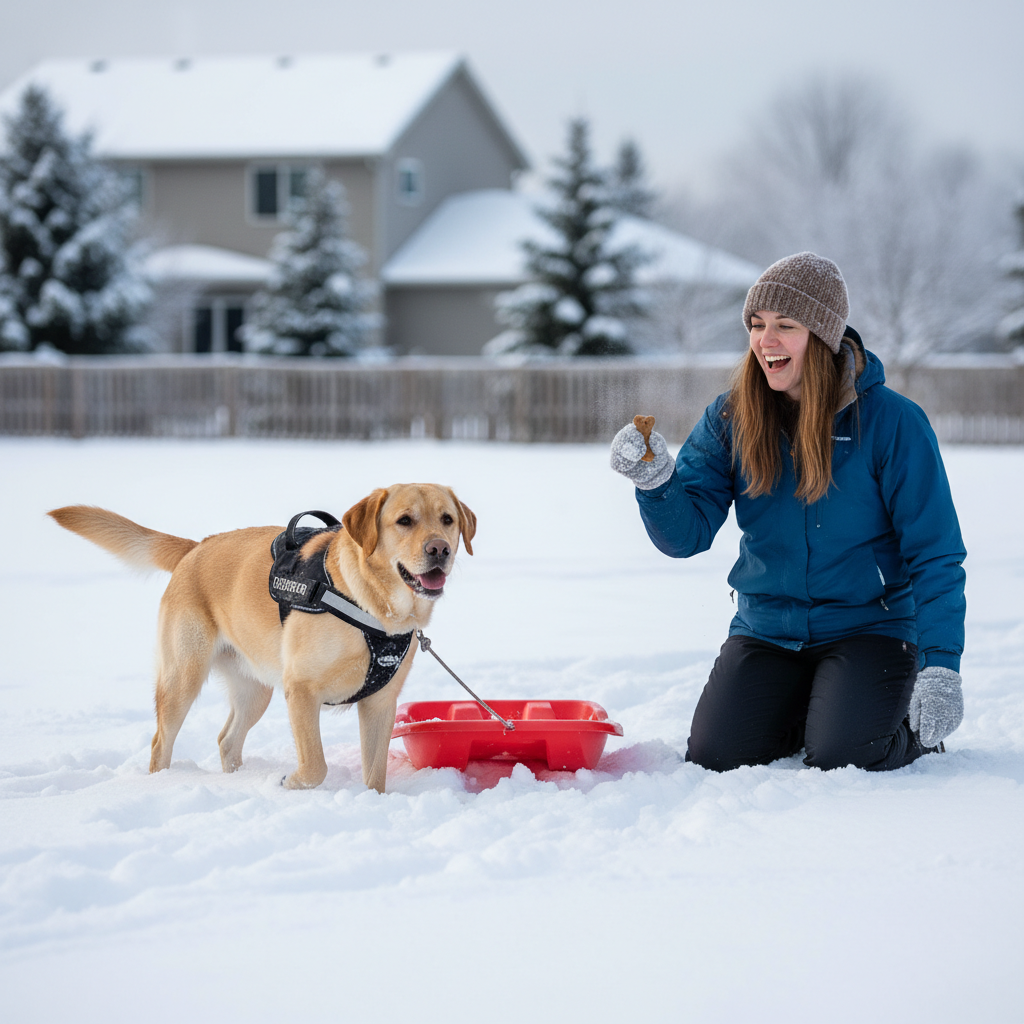
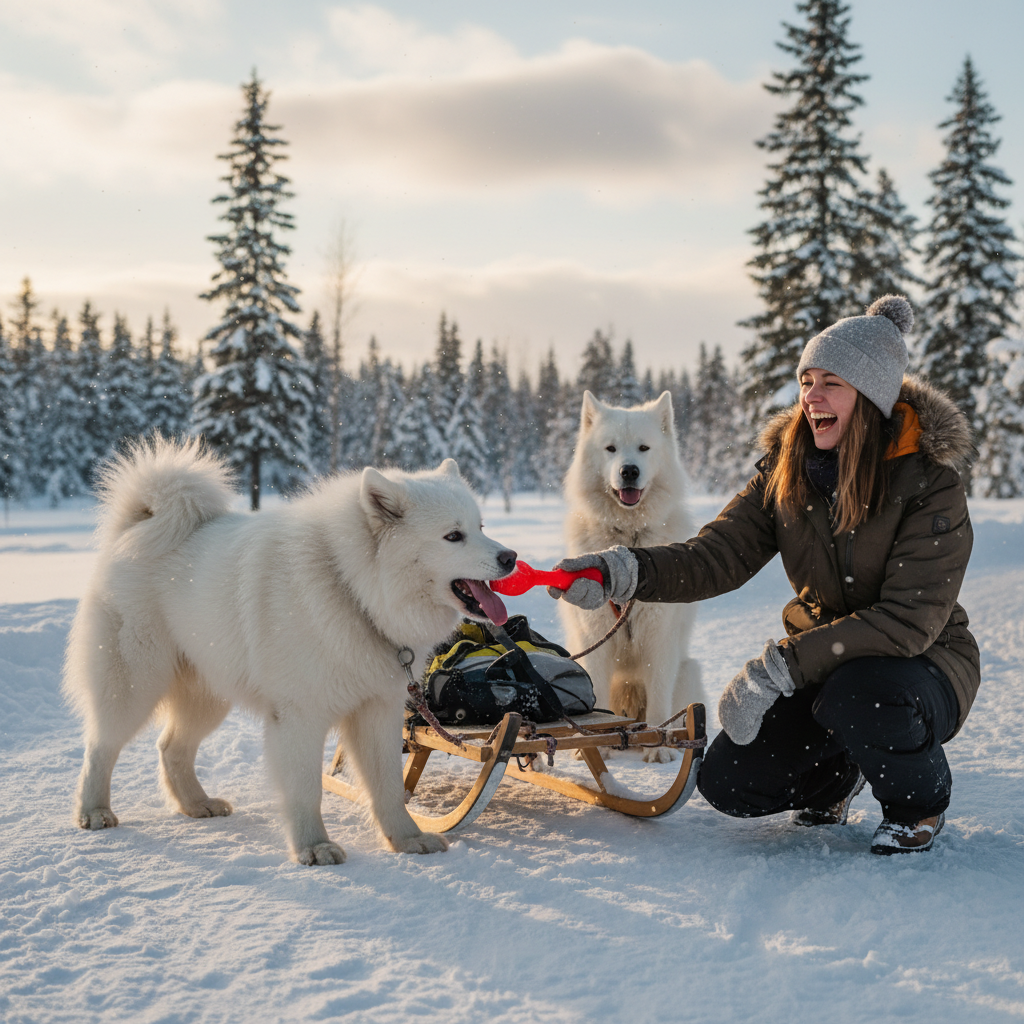
- A Lightweight Sled: Start with something small and light. A simple plastic kid’s saucer or a small, short toboggan is perfect for this. You want the sled itself to be easy for your dog to pull before you even add any weight.
- High-Value Treats: This is your currency for a job well done! Grab something extra special that your dog absolutely loves, like small pieces of chicken, cheese, or their favorite smelly training treats.
- Paw Protection: Snow and ice can be tough on paw pads. Consider using a paw wax or balm to protect against ice balls and de-icing chemicals. For more sensitive dogs, a set of well-fitting dog booties is a great idea.
Expert Tip: When fitting a pulling harness, you should be able to slip two fingers comfortably between the harness and your dog’s fur. Ensure it doesn’t chafe under their front legs.
The Training Ground: A Step-by-Step Guide
Patience and positivity are your best friends during this process. Keep training sessions short (5-10 minutes at first) and always end on a high note. The goal is for your dog to associate the harness and sled with fun, not work. Let’s break it down:
-
Step 1: Get Harness Happy
Before you even think about pulling, get your dog comfortable with the new harness. Let them sniff it. Put it on them for a few minutes at a time inside the house, giving them lots of treats and praise. Do this for a few days until they show excitement when you bring the harness out.
-
Step 2: Introduce Light Resistance
Once they’re happy in the harness, attach the bungee line. The first step isn’t to pull a sled, but just to get them used to a little drag. You can start by simply holding the line and providing very gentle resistance as they walk forward. Another great trick is to tie something very light and non-scary, like a single plastic water bottle, to the end of the line and encourage them to walk and drag it. Praise them enthusiastically for moving forward!
-
Step 3: Meet the Sled
Bring the sled out and let your dog investigate it on their own terms. Place treats on and around it. Let them sniff it and get used to its presence. Don’t try to attach it yet; just create a positive association.
-
Step 4: The First Pulls (Empty Sled)
Now, it’s time to put it all together. In a safe, enclosed area, attach the empty sled to your dog’s harness. Have a helper hold the sled initially to prevent it from bumping into your dog’s legs. Use an exciting cue word like “Let’s go!” or “Hike!” and encourage your dog to walk forward a few steps. Reward them with a jackpot of treats and praise the second they do. Keep it super short and fun.
-
Step 5: Adding a Little Weight
Once your dog is confidently pulling the empty sled, you can start adding weight. And I mean a little weight. Start with a single snowball. Then a stuffed animal. The idea is to gradually increase the load. If you plan on having a small child ride, have them sit on the sled while you pull it first to show the dog it’s safe, before ever asking the dog to pull them.
Safety First: The Golden Rules of Backyard Mushing
Fun should never come at the expense of safety. This activity is only suitable for certain dogs, and there are important rules to follow every time you head out.
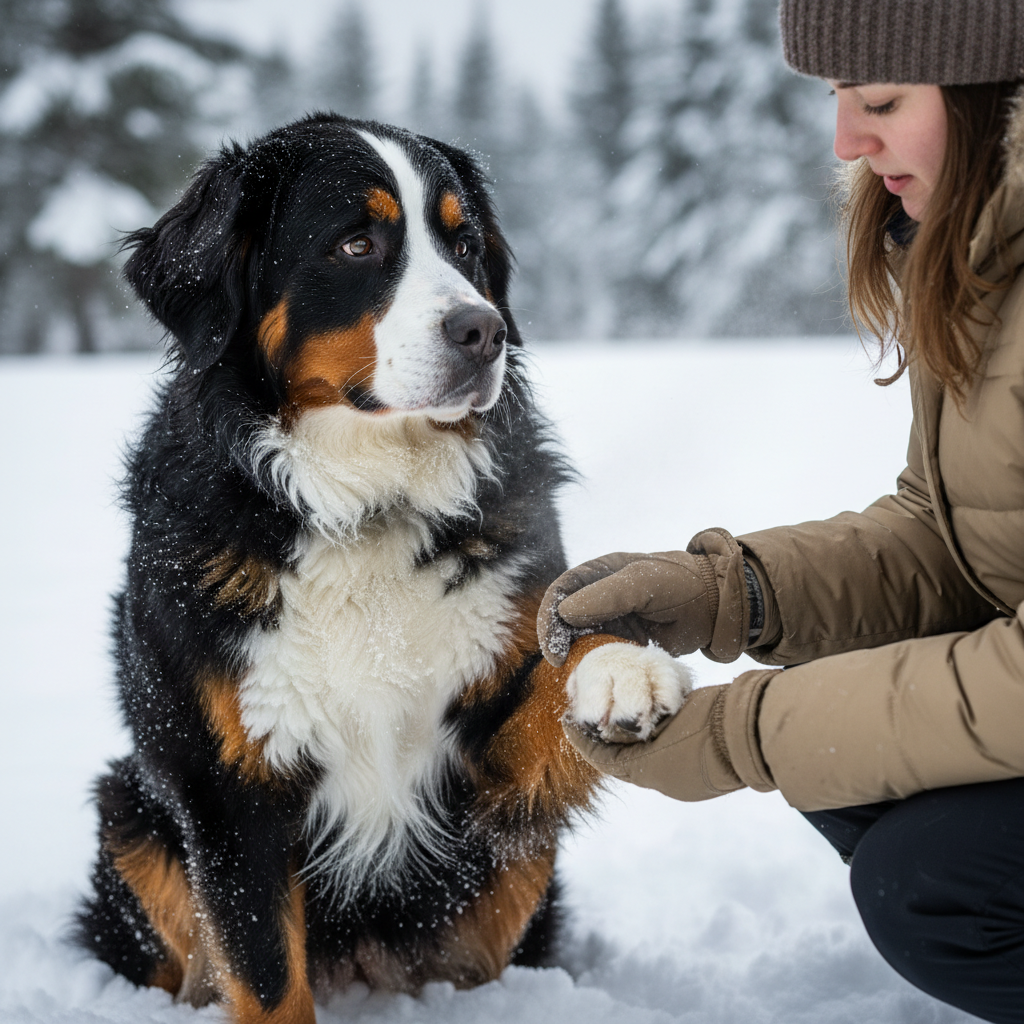
- Health & Fitness Check: This activity is best for energetic, medium-to-large breeds (think Huskies, Shepherds, Retrievers, Bernese Mountain Dogs) who are over 40 lbs and in excellent health. Crucially, your dog must be fully grown—at least 18 months old—to ensure their growth plates have closed. If you have any doubts, check with your vet.
- Warm-Ups & Cool-Downs: Just like any athlete, your dog needs to warm up. A few minutes of brisk walking or fetching before you start is perfect. Afterward, a slow cool-down walk helps their muscles recover.
- Listen to Your Dog: This is the most important rule. If your dog looks tired, stressed (yawning, lip licking), or is simply not enjoying it, stop immediately. Never force them to pull. The goal is for them to have as much fun as you are.
- Keep It Short & Sweet: Recreational pulling sessions should be brief, especially for beginners. 5-15 minutes is plenty of time for a great workout and a lot of fun.
- Location, Location, Location: Stick to safe, flat, and open areas like a fenced backyard or a quiet park. Avoid roads, icy patches, and steep hills at all costs.
- Supervise, Always: If a child is riding the sled, an adult must be supervising at all times, holding onto a lead rope attached to the sled for extra control and braking.
Troubleshooting Common Pulling Problems
Even with the best training plan, you might hit a few snags. Don’t worry, it’s totally normal! Here’s how to handle some common issues:
- Problem: My dog keeps turning around to look at the sled.
Solution: This usually means they’re a bit unsure. Go back a step. Practice dragging something less intimidating, like the plastic bottle, and shower them with praise. You can also have a helper walk behind the sled to keep it steady and prevent it from bumping your dog.
- Problem: My dog won’t move forward.
Solution: The motivation isn’t high enough! Up the ante with an even better treat or a favorite squeaky toy. Have a family member stand a short distance in front of them and call them excitedly. Make moving forward the best party ever.
- Problem: My dog gets easily distracted by squirrels, other dogs, etc.
Solution: Start your training in the most boring environment possible, like a quiet, fenced-in yard. As they become more confident and focused on the task, you can gradually introduce them to areas with more distractions. Keeping sessions short also helps maintain their focus.
Conclusion
Teaching your dog to pull a sled is more than just a fun trick; it’s a wonderful way to deepen your communication and trust with your canine companion. By focusing on the right gear, positive reinforcement, and unwavering attention to safety, you can unlock a fantastic new way to enjoy those snowy days together. Remember to celebrate the small victories, keep it fun, and cherish the unique memories you’ll make. Now go out there and enjoy the snow!