Food Refusal Training: The Life-Saving Skill Every Dog Needs
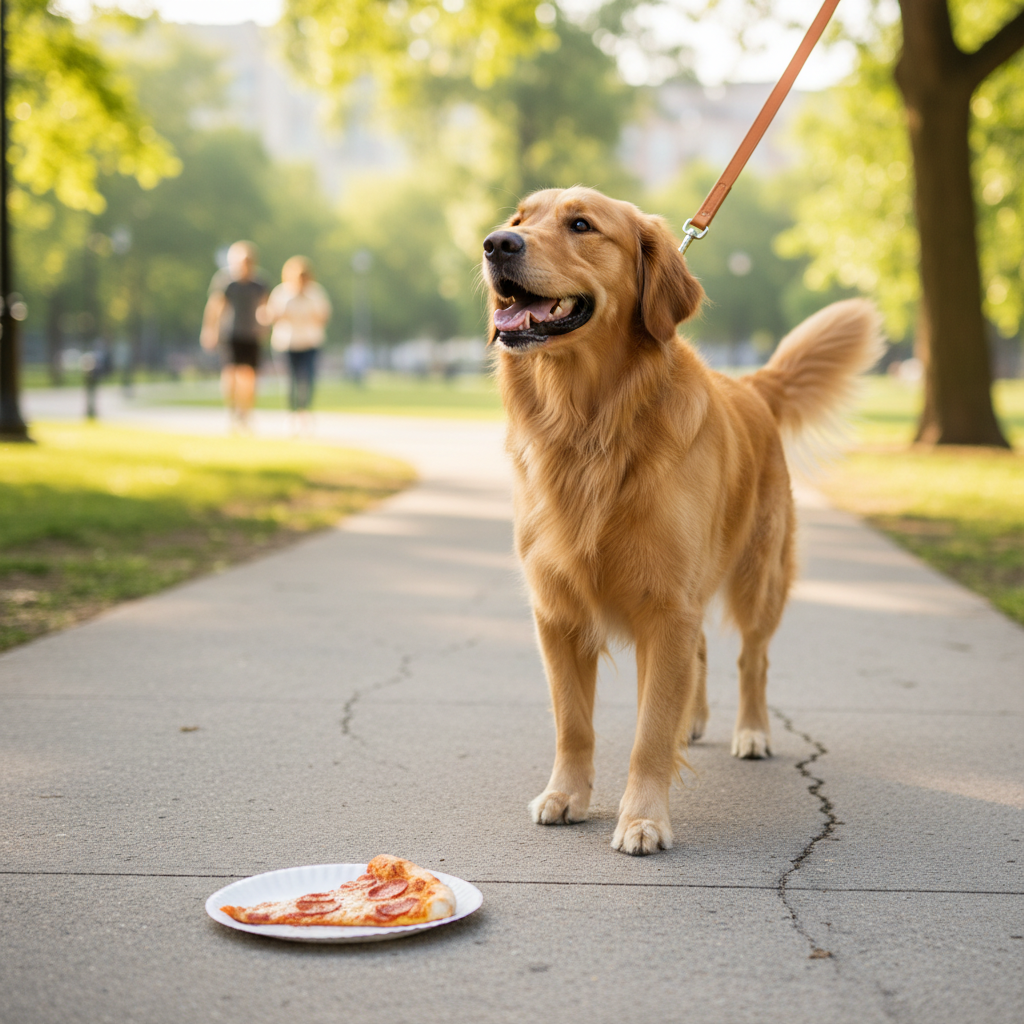
Imagine you’re on a walk with your best furry friend. You’re enjoying the sunshine when, out of the corner of your eye, you see them lunge for something on the ground. Your heart drops. Was it a dropped piece of chicken, or something far more sinister like a spilled pill, a toxic mushroom, or even deliberately placed poison? This split-second scenario is every dog owner’s nightmare. But what if you had a tool, a simple command, that could stop them in their tracks? That’s the power of food refusal training. It’s more than just a cool trick; it’s a foundational safety command that builds trust, communication, and can genuinely save your dog’s life. In this guide, we’ll walk you through, step-by-step, how to teach your dog this invaluable skill with patience, positivity, and a whole lot of tasty rewards (the ones you approve of, of course!).
Why Food Refusal is a Non-Negotiable Skill
Before we dive into the ‘how,’ let’s really understand the ‘why.’ Dogs, by nature, are scavengers. Their powerful noses lead them to all sorts of ‘treasures’ on the ground, and their instinct is to investigate with their mouths. While this was a great survival skill for their ancestors, it’s a massive liability in our modern world. Here are just a few scenarios where a solid food refusal command is critical:
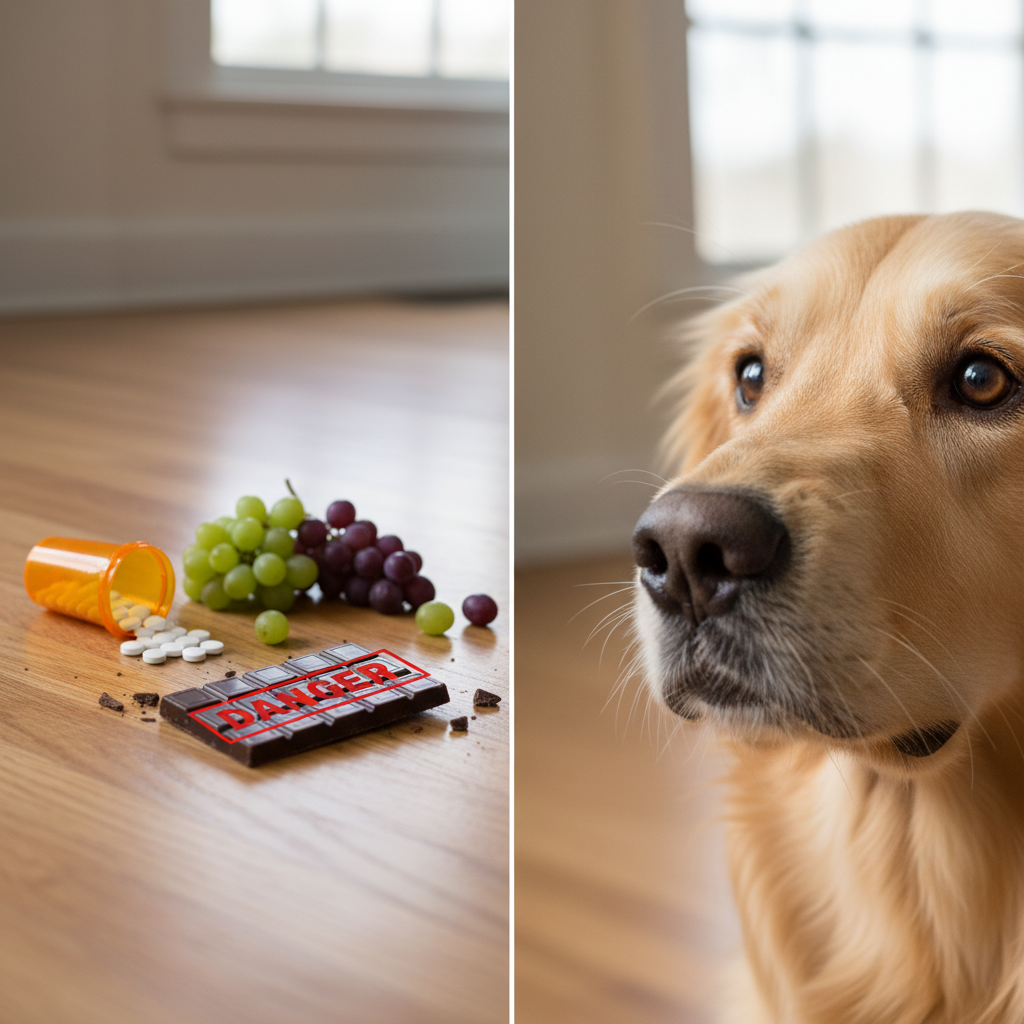
- Household Dangers: A dropped pill, a fallen grape or raisin, a piece of chocolate from a dessert, or xylitol-sweetened gum falling from a purse can all be toxic, and sometimes fatal, to a dog.
- Outdoor Threats: Parks and sidewalks can be littered with hazards. Discarded chicken bones can splinter, old food can be moldy and cause illness, and in the worst cases, malicious individuals may leave poisoned bait for animals.
- Polite Greetings: A well-trained dog won’t snatch treats from the hands of strangers or children, preventing accidental nips and teaching good manners.
- Managing Multi-Pet Households: It can help prevent one dog from stealing another’s food, especially if one is on a prescription diet.
Ultimately, teaching your dog to ignore dropped items isn’t about depriving them; it’s about protecting them. It establishes a clear line of communication that says, ‘Trust me, I’ve got your back, and I’ll make sure you only eat the good stuff.’
Gathering Your Training Toolkit
The great news is that you don’t need a lot of fancy equipment to get started. Success in food refusal training relies on your technique, not your gear. Here’s a simple list of what you’ll want to have on hand:
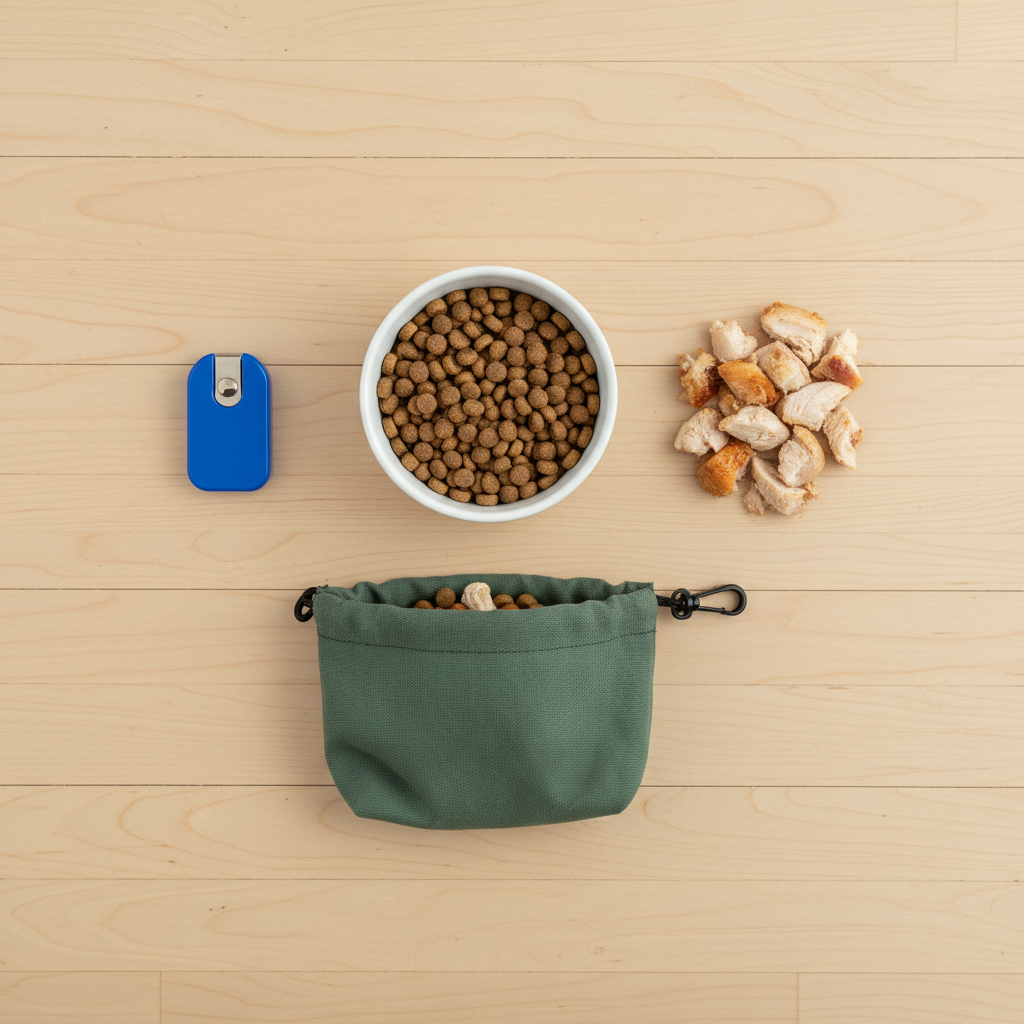
- Two Tiers of Treats: This is the most important part! You’ll need:
Low-Value Treats
This should be something your dog likes but isn’t wildly excited about, like their regular kibble. This will be the ‘bait’ they learn to ignore.
High-Value Treats
This is the good stuff! Think small pieces of cooked chicken, cheese, hot dogs, or smelly training treats. This is the reward they get for making the right choice.
- A Clicker (Optional): If you’re familiar with clicker training, it can be a fantastic tool to mark the exact moment your dog makes the right decision (i.e., looking away from the bait). If not, a clear and happy verbal marker like “Yes!” works just as well.
- A Quiet Training Space: Start in a low-distraction environment, like your living room or kitchen, where your dog can focus entirely on you and the game we’re about to play.
Expert Tip: Keep your training sessions short and sweet! Five to ten minutes, a couple of times a day, is far more effective than one long, frustrating session. Always end on a positive note when your dog is successful.
The Step-by-Step Guide to Teaching Food Refusal
Patience is your best friend here. We’ll build this skill in layers, ensuring your dog understands each step before we make it more challenging. Let’s begin!
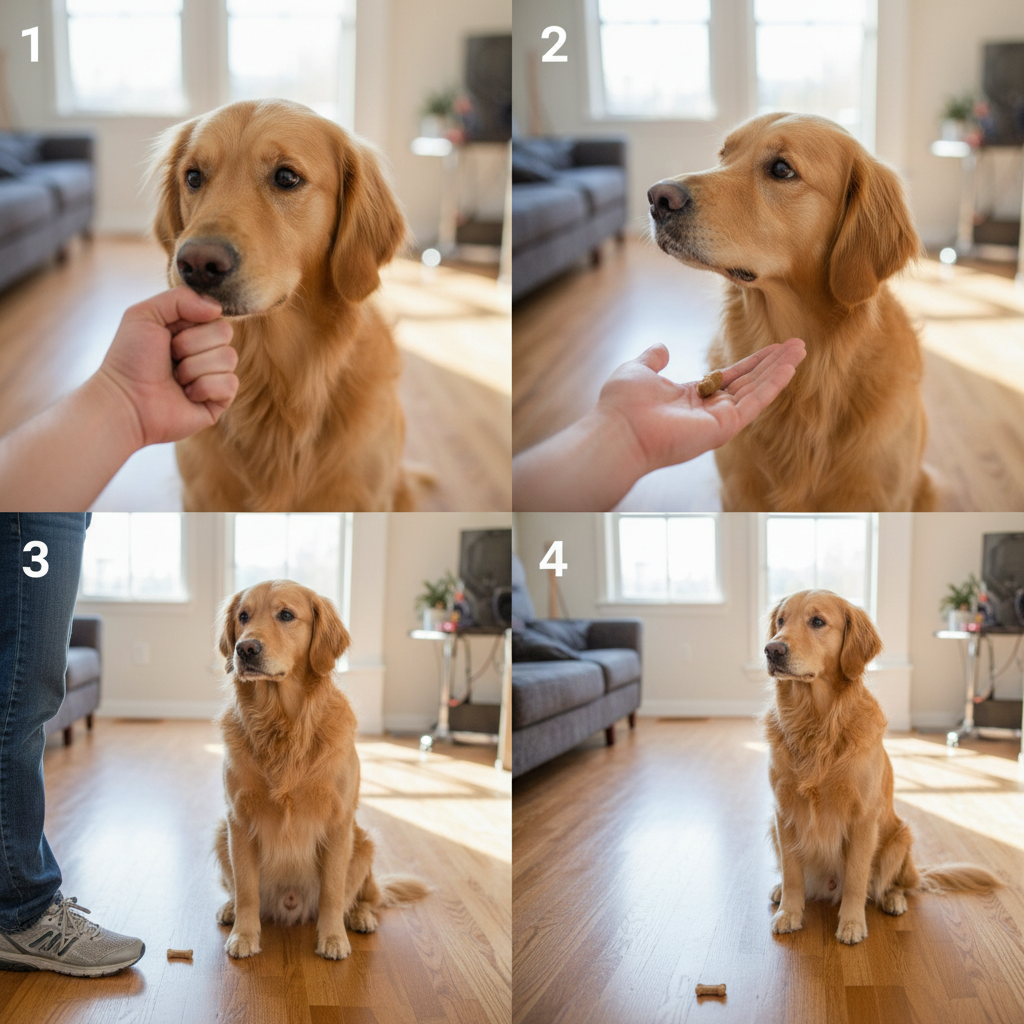
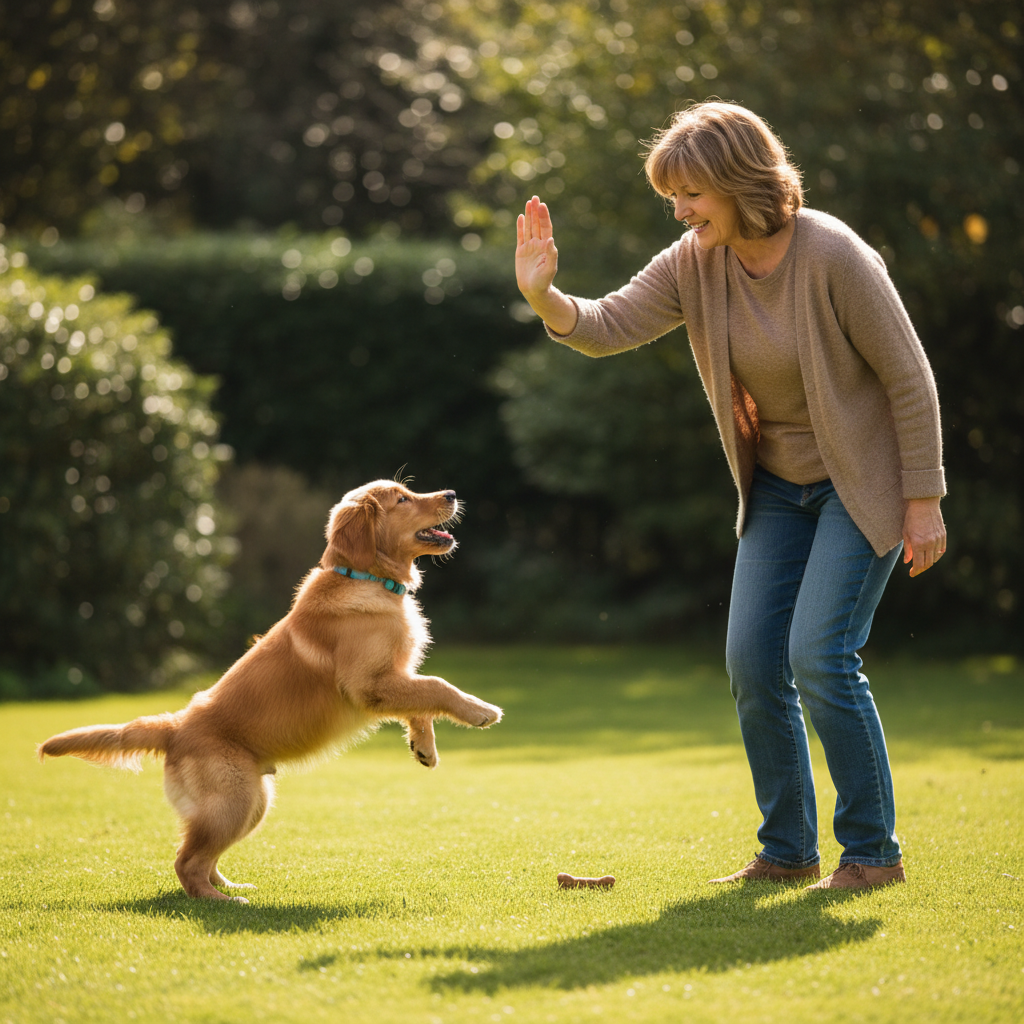
Step 1: The Closed Fist
Place a low-value treat (kibble) in your hand and close it into a fist. Let your dog sniff your hand. They will likely lick, paw, and nudge at it. The moment they pull their head away, even for a split second, click or say “Yes!” and immediately give them a high-value treat from your other hand. The key is that the reward comes from you, not the forbidden fist. Repeat this until your dog stops mugging your hand and instead looks at you when presented with the fist.
Step 2: The Open Hand
Now, we up the difficulty. Place the low-value treat in your open palm. As your dog goes for it, say your cue (like “Leave It”) in a calm, neutral tone and quickly close your hand before they can get it. When they back off, reward them from your other hand. Once they hesitate before diving in, you can start rewarding that hesitation. The goal is for you to be able to present an open palm with a treat, say “Leave It,” and have your dog look at you for their reward instead.
Step 3: The Floor Drop
This starts to mimic a real-world scenario. With your dog on a leash to prevent them from grabbing the treat and running, drop a low-value treat on the floor. Cover it with your hand or foot. Use your “Leave It” cue. When your dog stops trying to get the covered treat and looks at you, reward them enthusiastically. Gradually, you can start lifting your hand/foot off the treat. If they lunge, cover it again. Repeat until you can drop a treat and they will automatically look at you without trying to get it.
Step 4: Increasing the Temptation
Once your dog is a rockstar with their kibble, it’s time to practice with slightly more tempting ‘bait’ on the floor. Maybe a piece of a dog biscuit. Continue to reward with your super high-value treats. The rule is simple: the reward for ignoring the item must always be better than the item itself.
Step 5: Adding Distance and Duration
Start practicing with you standing up. Drop the treat and give the cue. Ask for a little more duration—can they leave it for 3 seconds? 5 seconds? Then, start adding distance. Can you take a step away from the treat while they still leave it? This builds reliability and self-control.
Troubleshooting: Common Mistakes to Avoid
It’s normal to hit a few bumps in the road. Here are some common mistakes and how to fix them:
- Yelling the Cue: The “Leave It” command should be firm but calm, not a panicked shout. Yelling can create anxiety or make the forbidden item seem even more exciting.
- Moving Too Fast: The most common error is trying to progress to the next step before your dog has mastered the current one. If your dog is failing more than they are succeeding, take a step back to where they were successful and practice there a bit more.
- Using the Bait as the Reward: Never let your dog have the item you told them to leave as the reward. This is confusing and undermines the entire command. The reward should always be separate and come from you.
- Inconsistency: If you sometimes let your dog eat food off the floor and sometimes don’t, they won’t understand the rules. For the training to be effective, especially in the beginning, the rule should be that we never eat things off the floor unless given a specific release cue (like “Okay, get it!”).
Remember, this is complex impulse control for a dog. Be your dog’s patient coach, not their drill sergeant. Celebrate the small wins and keep it fun!
Proofing: Taking Your Skills into the Real World
A perfect “Leave It” in your living room is fantastic, but it’s not very useful if it falls apart on a busy street. The final stage of training is ‘proofing’—teaching your dog to generalize the skill in different environments with various distractions.
Start in the Yard
Begin in a controlled outdoor space like your backyard. Practice dropping treats on the grass. The new smells and sights are an added level of distraction.
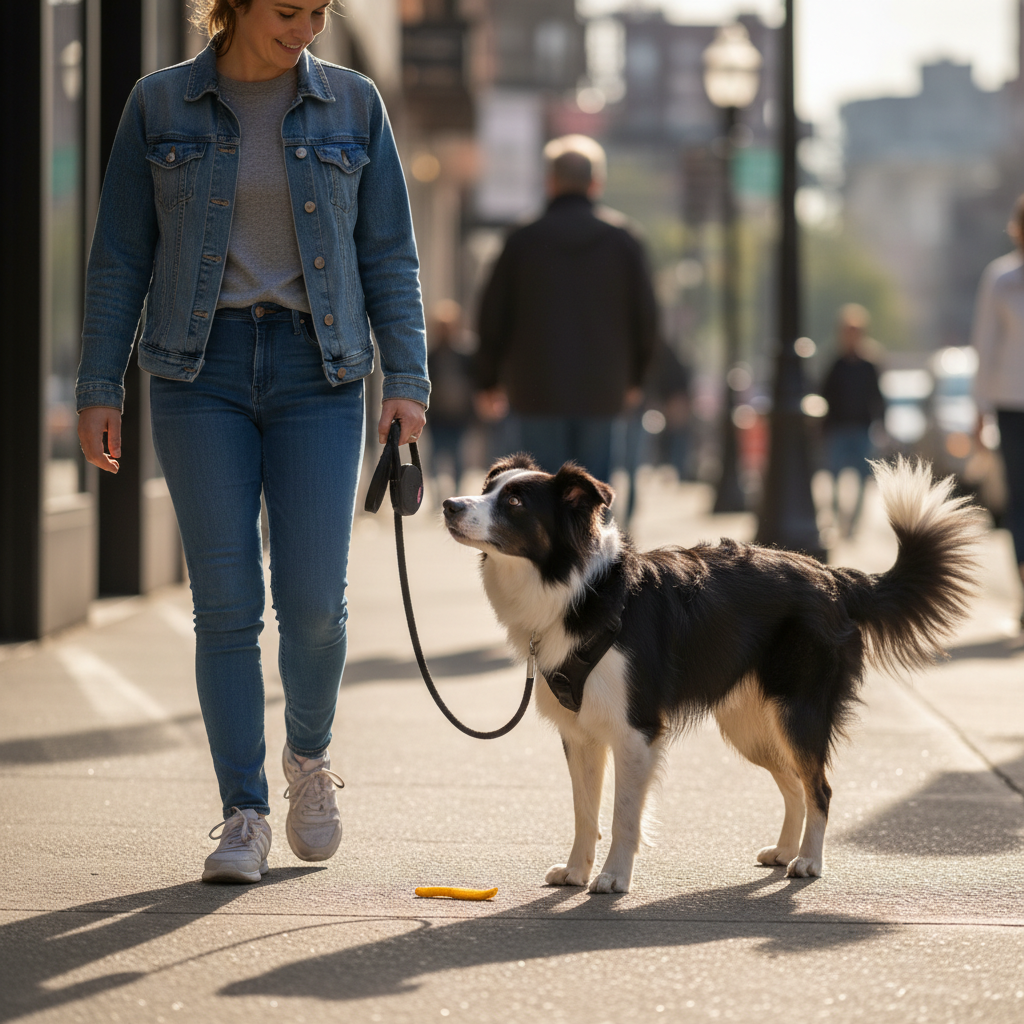
Practice on Quiet Walks
Take your training on the road. During a walk on a quiet street, have a ‘bait’ treat ready. When you see a clear spot, drop it ahead of you and cue “Leave It.” Reward your dog handsomely for ignoring it and continuing to walk with you.
Increase the Distractions
Gradually work your way up to busier environments. This is a slow process. Don’t expect your dog to ignore a half-eaten sandwich outside a busy cafe on day one. Set them up for success by managing the difficulty level.
Involve Other People
Ask a friend or family member to help. Can they walk by and drop a treat? Can your dog leave it? This teaches them that the rule applies no matter who drops the food.
Proofing is an ongoing process. Regularly incorporate little training games into your daily walks to keep the skill sharp and reliable. It’s an investment that will pay dividends for the entire life of your dog.
Conclusion
Teaching your dog food refusal is one of the most profound ways you can show them you care. It goes beyond simple obedience; it’s a safety net that protects them from countless hidden dangers in our world. By investing the time and patience into this training, you are building a language of trust and strengthening your bond in a way that truly matters. So grab your treats, find a quiet spot, and start building this life-saving skill today. Your dog’s safety is worth every single kibble they learn to ignore.