The ‘Halo’ Command: Essential Safety Training For Blind Dogs
Welcoming a dog into your life is a journey of joy, and when that dog has special needs, the journey becomes even more profound. For owners of blind or visually impaired dogs, ensuring their safety and confidence is the top priority. You watch them navigate the world with their other senses, and your heart swells with pride… and maybe a little bit of worry. What if they bump into the corner of the coffee table? What about the stairs? That’s where a simple but revolutionary training concept comes in: the ‘Halo’ command. This isn’t just about a physical device; it’s a verbal cue that acts as an invisible shield, empowering your dog to explore their surroundings without fear. Let’s dive into how you can teach this essential safety skill and give your best friend the gift of confident independence.
What is the ‘Halo’ Command and Why is it a Game-Changer?
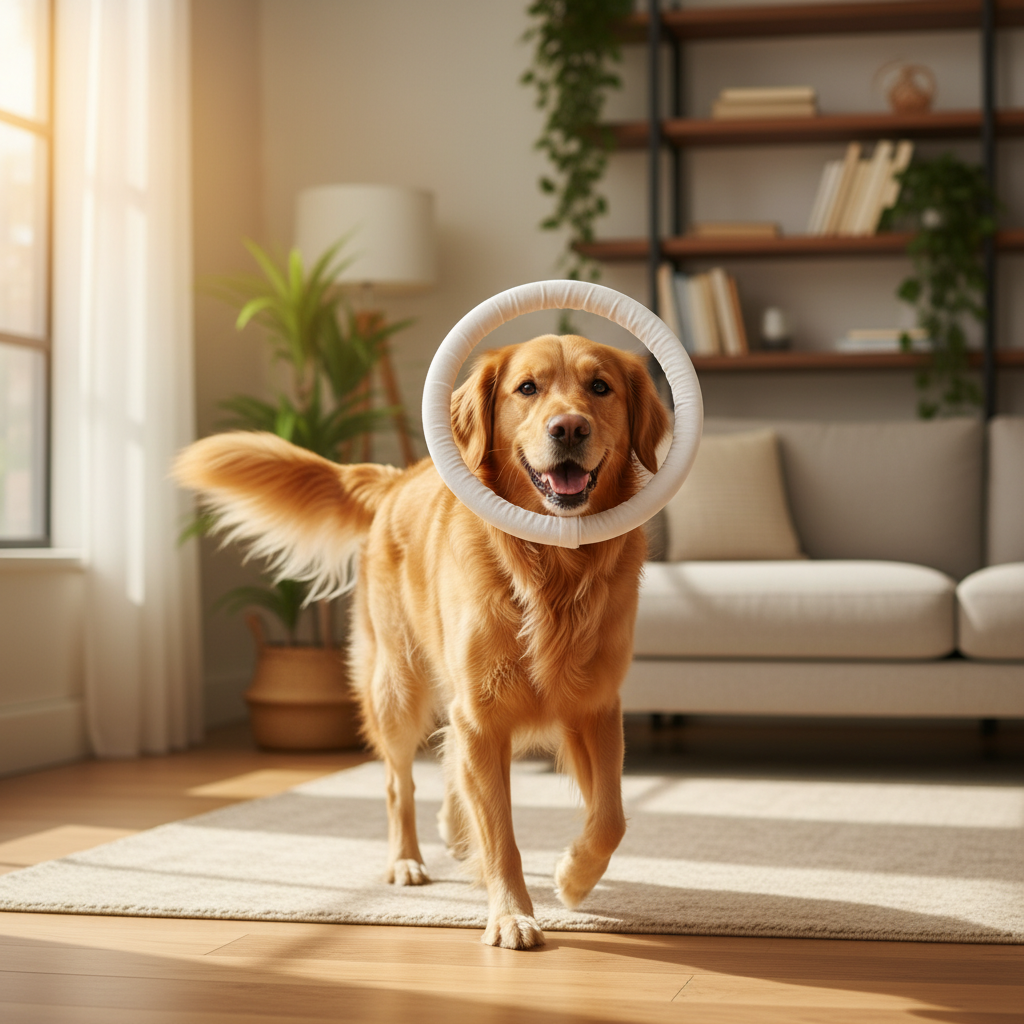
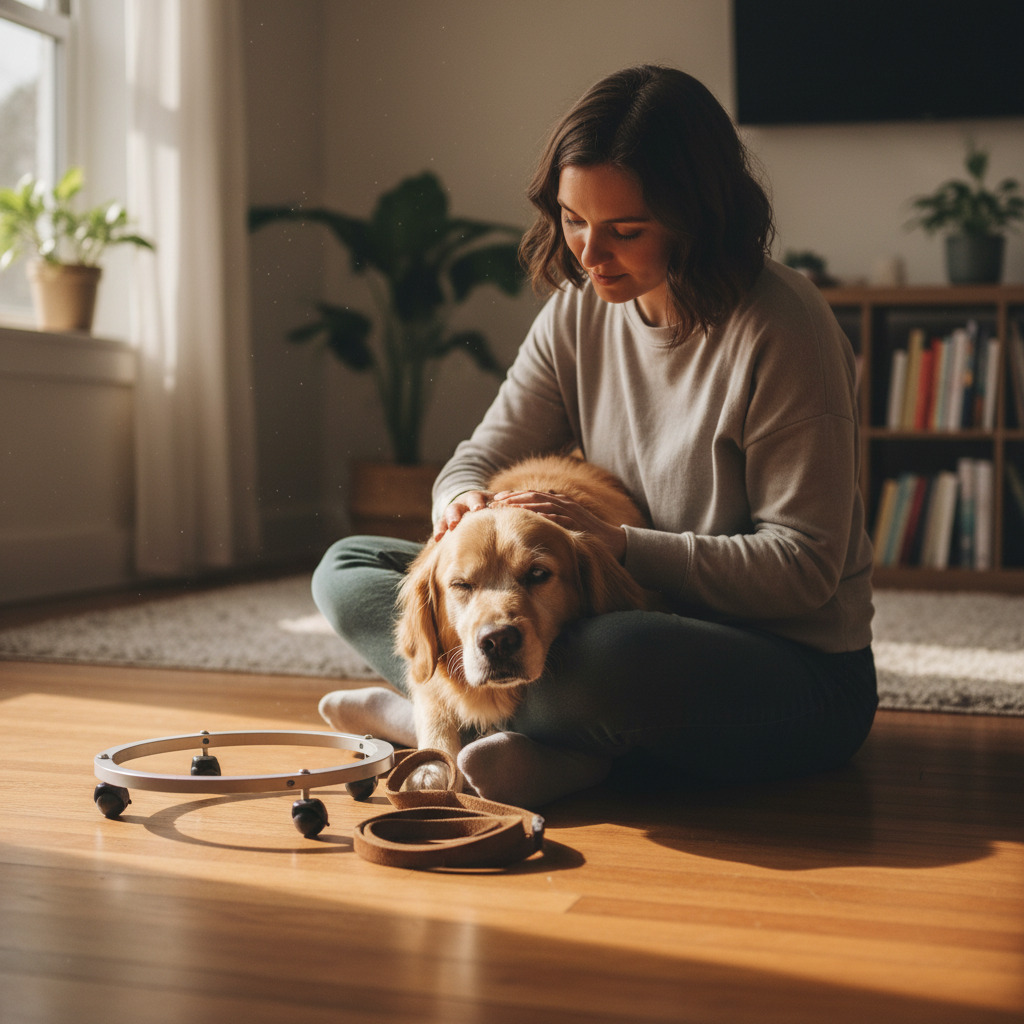
Before we get into the ‘how-to,’ let’s talk about the ‘what’ and ‘why.’ You might have seen physical devices called ‘halos’ or ‘bumper guards’ for blind dogs. These are lightweight hoops that attach to a harness and extend in front of the dog’s face, acting as a bumper to alert them to obstacles. The ‘Halo’ command is the verbal cue that pairs with this concept.
Essentially, you teach your dog a specific word—like ‘Careful,’ ‘Stop,’ or ‘Touch’—that means an obstacle is directly ahead. The goal is for your dog to hear the cue and either slow down or stop completely, preventing a collision. You can teach this with or without a physical halo device, but using one initially can make the learning process much clearer for your dog.
This command does more than just prevent bumps and bruises. It builds an incredible layer of trust and communication between you and your dog. They learn to trust your guidance, which reduces their anxiety and stress. Instead of moving hesitantly, they can walk with more confidence, knowing you’re their co-pilot, helping them navigate the world safely. It’s a true game-changer for their quality of life.
Setting Up for Success: Tools and Environment
Great training starts with great preparation! Before you begin your first session, take a few minutes to gather your supplies and set up a perfect learning environment. This will make the process smoother and more enjoyable for both of you.
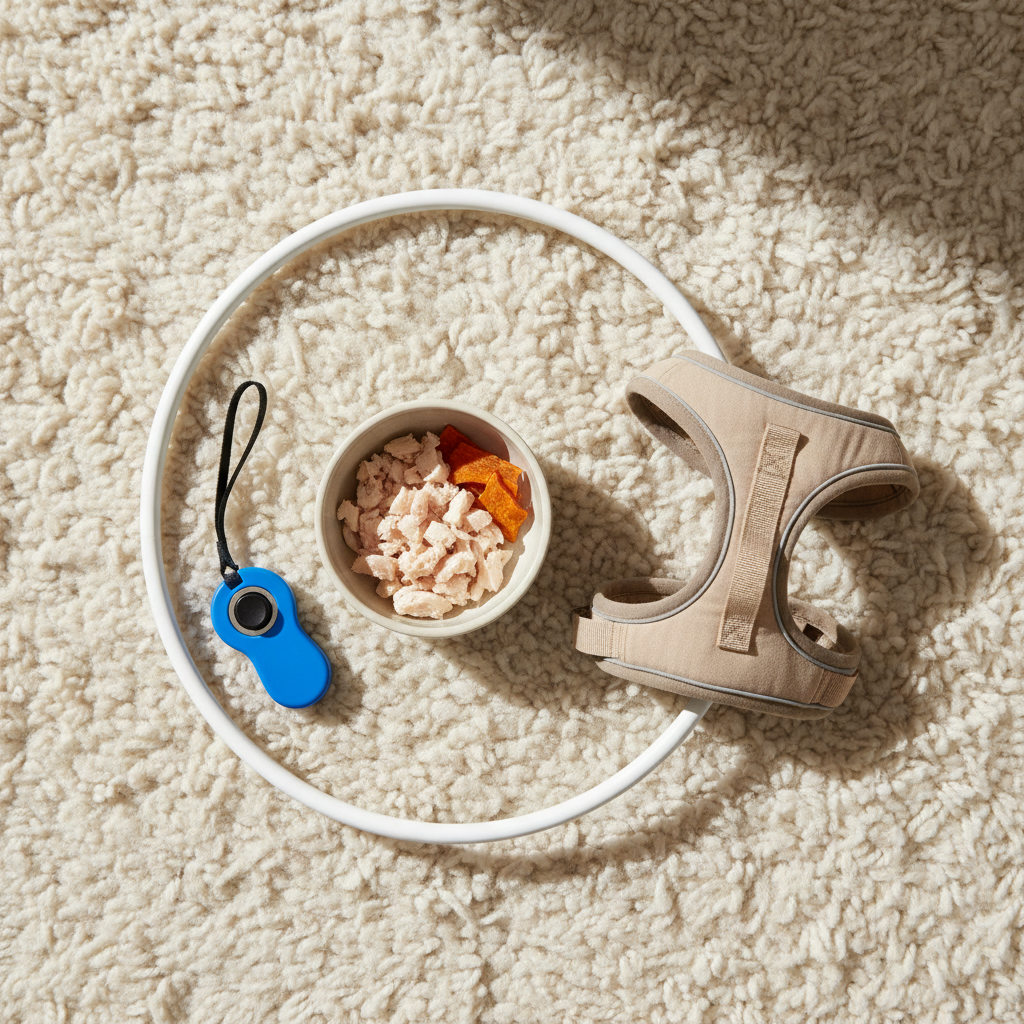
What You’ll Need:
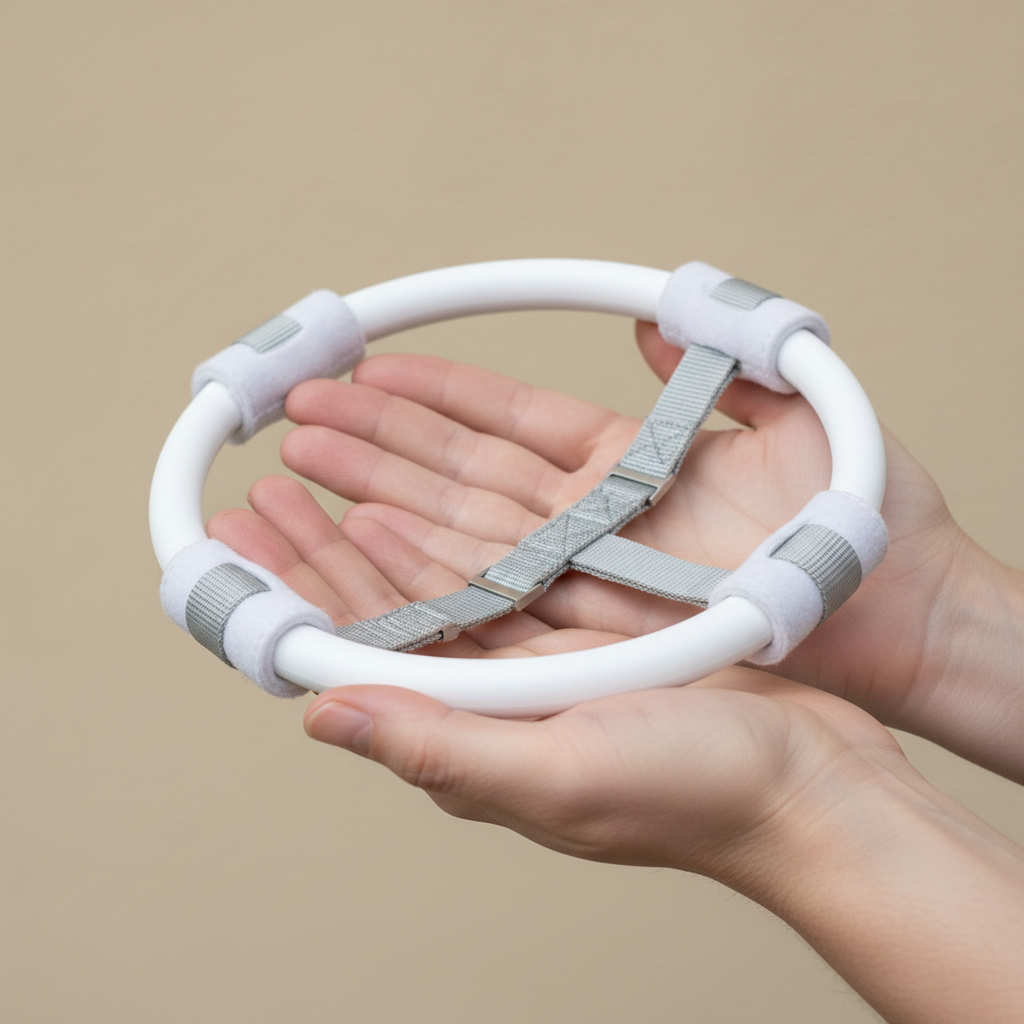
- A Blind Dog Halo (Recommended): While not strictly mandatory, using a physical halo makes it much easier for the dog to understand the concept initially. Ensure it’s properly fitted—not too tight, not too loose.
- High-Value Treats: These should be small, soft, and extra delicious! Think tiny pieces of chicken, cheese, or special training treats that your dog absolutely loves. This isn’t the time for dry biscuits.
- A Clicker (Optional): If your dog is already clicker-trained, a clicker can be a fantastic tool for marking the exact moment they perform the correct behavior (stopping before the object).
- A Quiet, Familiar Space: Start in a room your dog knows well, like the living room or hallway. Minimize distractions by turning off the TV, putting other pets in another room, and removing clutter from the training area.
Your goal is to create a low-pressure, positive atmosphere. Your calm and encouraging energy will be the most important tool you have!
Your Step-by-Step Guide to Teaching the ‘Halo’ Command
Ready to start? Remember to keep training sessions short (5-10 minutes max) and always end on a positive note. Patience is everything!
- Get Comfortable with the Gear: If you’re using a physical halo, the first step is just getting your dog used to wearing it. Put it on them for a few seconds, give them a treat, and take it off. Gradually increase the duration over several short sessions until they are completely comfortable wearing it around the house. Make it a ‘treat party’ every time the halo comes out!
- Choose Your Cue and Pair It: Pick a simple, clear verbal cue you’ll use consistently. Let’s use ‘Careful’ for this example. Stand in your quiet space with your dog on a leash.
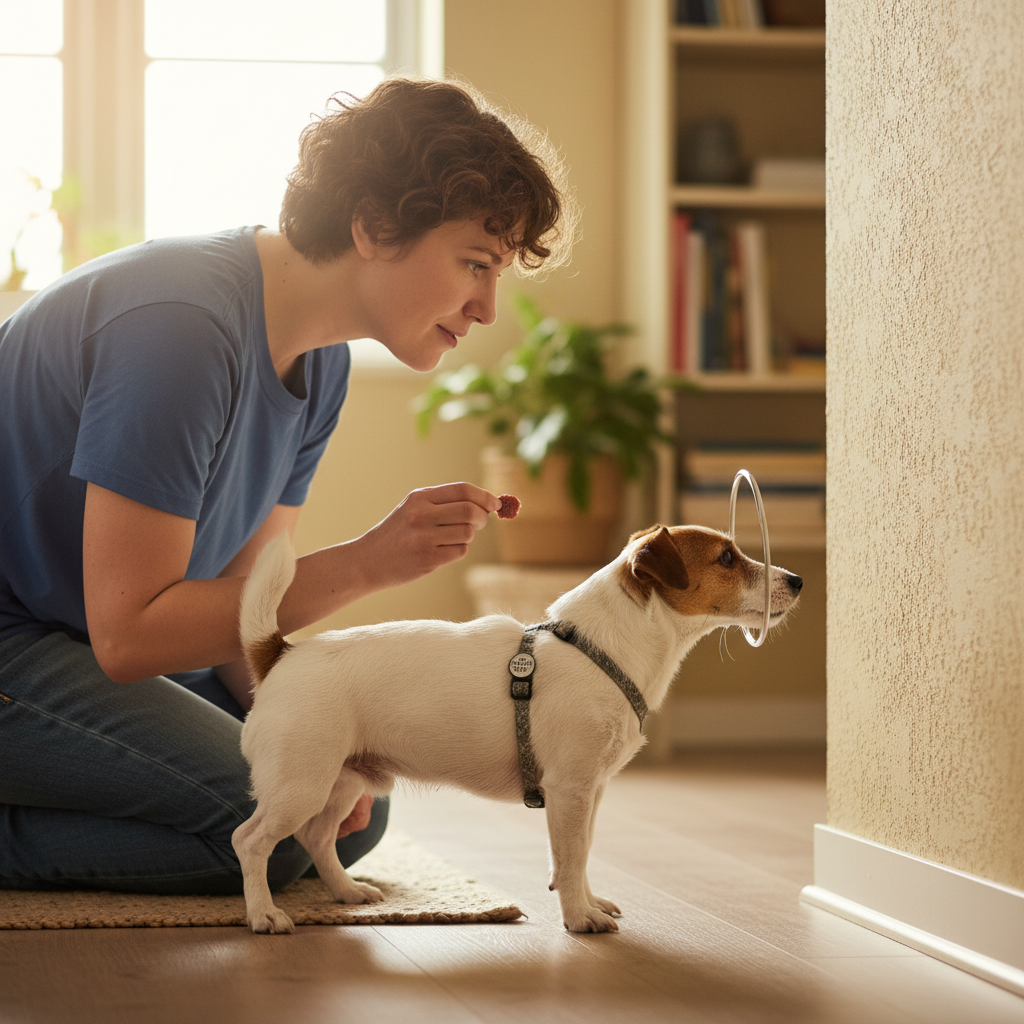
- Introduce the Concept: Walk slowly with your dog towards a large, flat surface, like a wall or the side of a sofa. Just as their halo is about to make contact with the surface, say your cue, ‘Careful,’ in a calm, clear voice. The very instant the halo touches the wall and your dog stops, praise them enthusiastically and give them a treat. Repeat this 5-6 times.
- Fade the Leash Guidance: As your dog starts to understand the game, begin to rely less on the leash to guide them. Let them walk more freely towards the obstacle. Your timing is key: say ‘Careful’ right before the halo makes contact. Reward the pause or stop.
- Generalize the Skill: Once your dog is reliably stopping at the wall, start practicing with different objects and in different rooms. Use chair legs, coffee tables (with padded corners for safety!), and doorways. The more varied the practice, the better they’ll understand that ‘Careful’ means ‘an object is in front of you,’ no matter what it is.
If you’re not using a physical halo, the process is similar, but you’ll need to be more hands-on. Gently guide your dog with the leash and stop them just before their nose would touch the object while saying the cue. This method may take a bit more time and patience, but the result is the same.
Troubleshooting Common Hurdles
Training is never a straight line, and it’s perfectly normal to hit a few bumps. Here’s how to handle some common challenges:
My dog is scared of the halo device.
Don’t force it. Go back to step one and create an overwhelmingly positive association. Leave the halo on the floor and sprinkle treats around it. Let them investigate it on their own terms. Touch them with it gently, then give a treat. Work in tiny, happy increments.
My dog isn’t stopping, they just bump the object and wait for a treat.
This means the reward is coming too late. You need to mark and reward the pause or the hesitation *before* they fully commit to moving forward. If you’re using a clicker, click the very second they slow down after hearing the cue. If not, use a verbal marker like ‘Yes!’ to pinpoint the moment, then deliver the treat.
My dog seems frustrated or is losing interest.
This is a sign the session has gone on too long or the task is too difficult. Always end on a success! Ask for a simple behavior you know they can do (like ‘Sit’), reward it, and end the session on that high note. Try again later, perhaps making the task a little easier.
Conclusion
Teaching the ‘Halo’ command is one of the most loving and empowering things you can do for your visually impaired dog. It’s a skill that transcends simple obedience; it’s a conversation, a safety net, and a massive confidence booster all rolled into one. Every time your dog successfully navigates an obstacle using your cue, you are strengthening your bond and reminding them that they are safe and capable. Be patient, stay positive, and celebrate every small victory. You’re not just training your dog—you’re opening up their world.